User Management
You can invite new users, view and manage all users across the domain.
Accessing the Menu
(1) Switch to Admin Center

(2) Navigate to [IAM > User]
Inviting Users
(1) Click the [+ Add] button at the top

(2) Invite users with workspaces and roles assigned
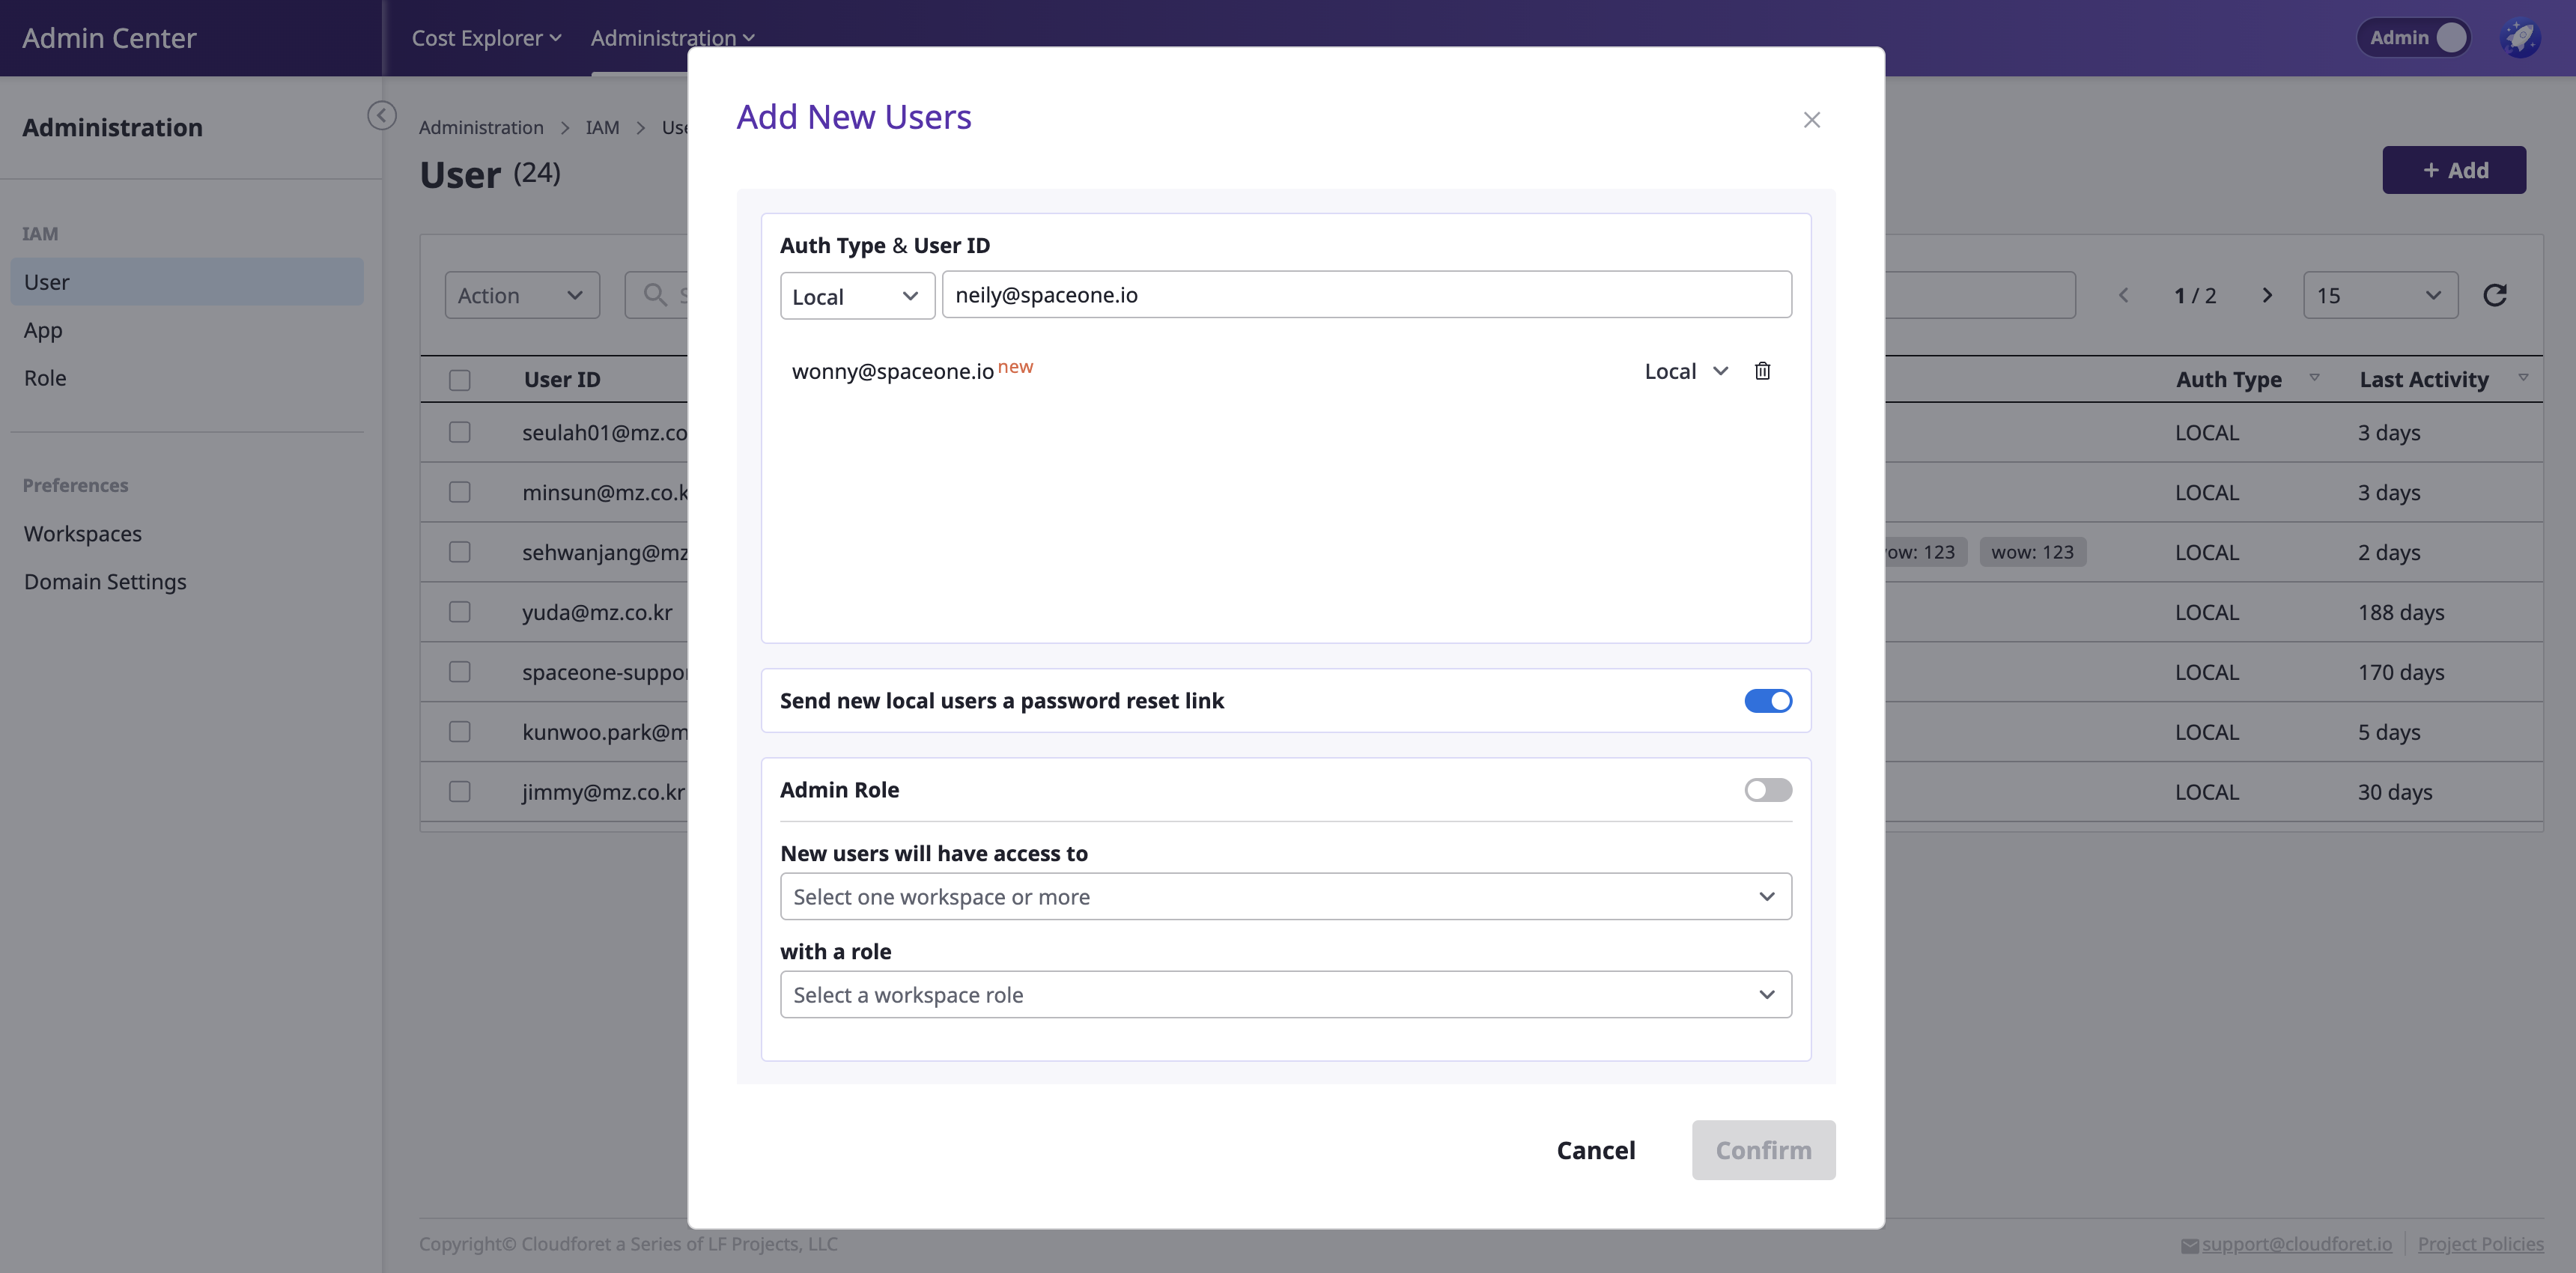
(2-1) Add user account
- Local: Local: Enter in email format
- For other SSO such as Google, Keycloak, etc., enter according to the format configured in the domain.
(2-2) Select if the user has the Admin role or not
- Admin Role ON: No need to select a workspace as it grants access to the entire domain
- Admin Role OFF: Must select one or more workspaces and assign roles within those workspaces
(2-3) Click the [Confirm] button to complete the user invitation
Learn more about roles here.
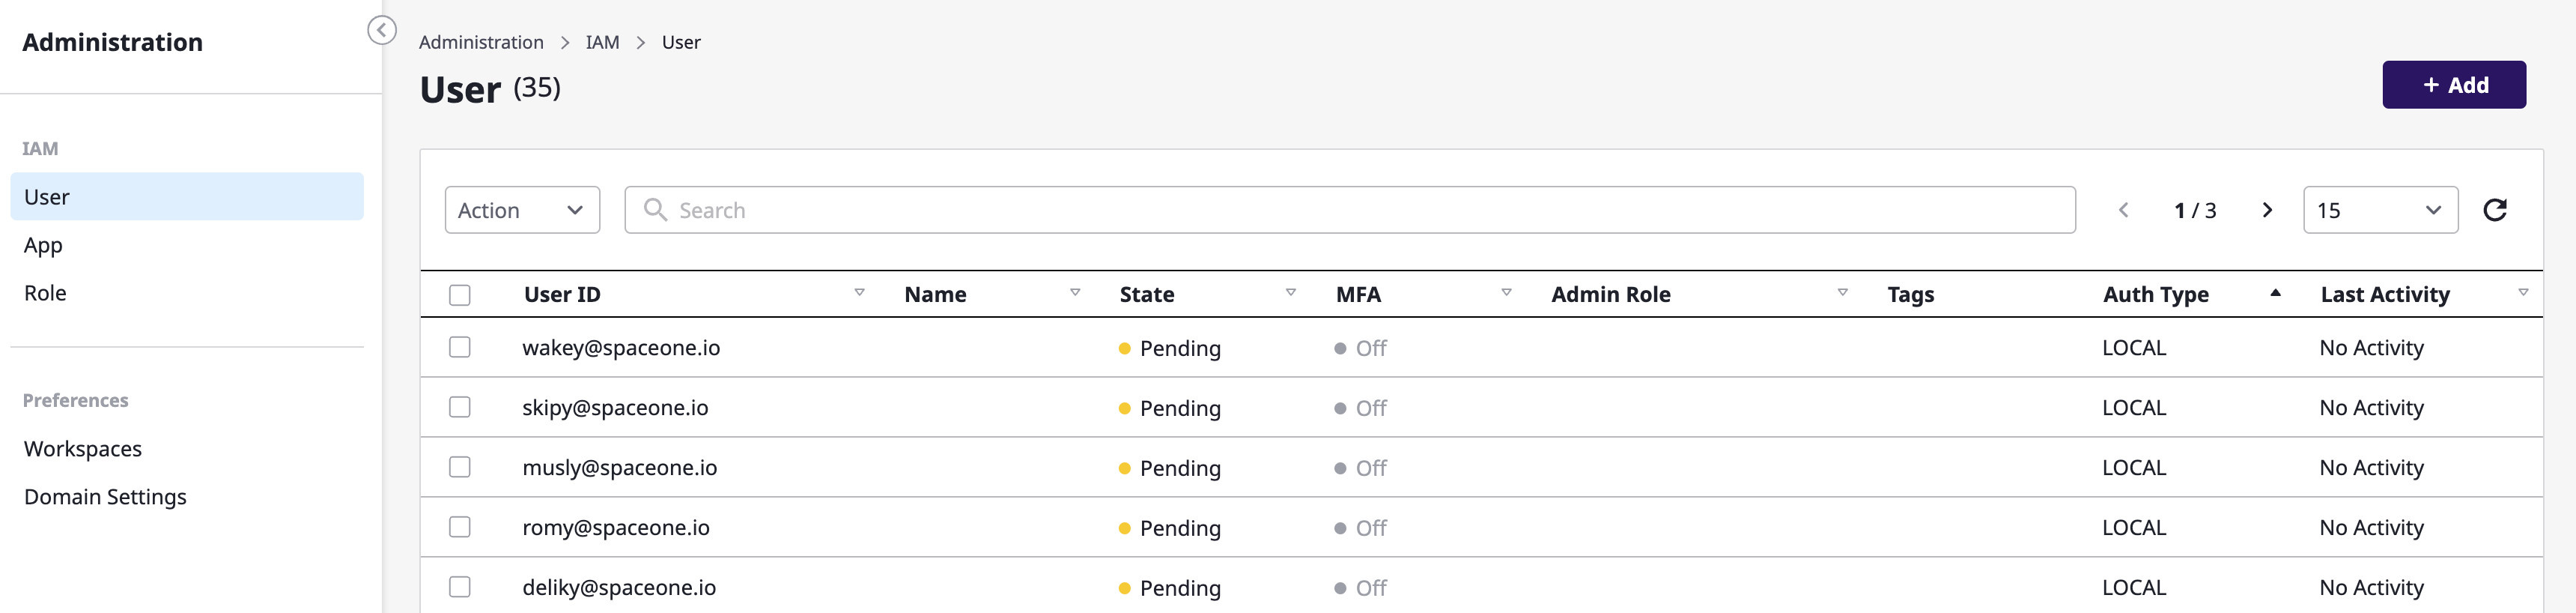
(3) Check the added user list
Clicking on a specific user allows you to see detailed user information and the list of workspaces the user belongs to.
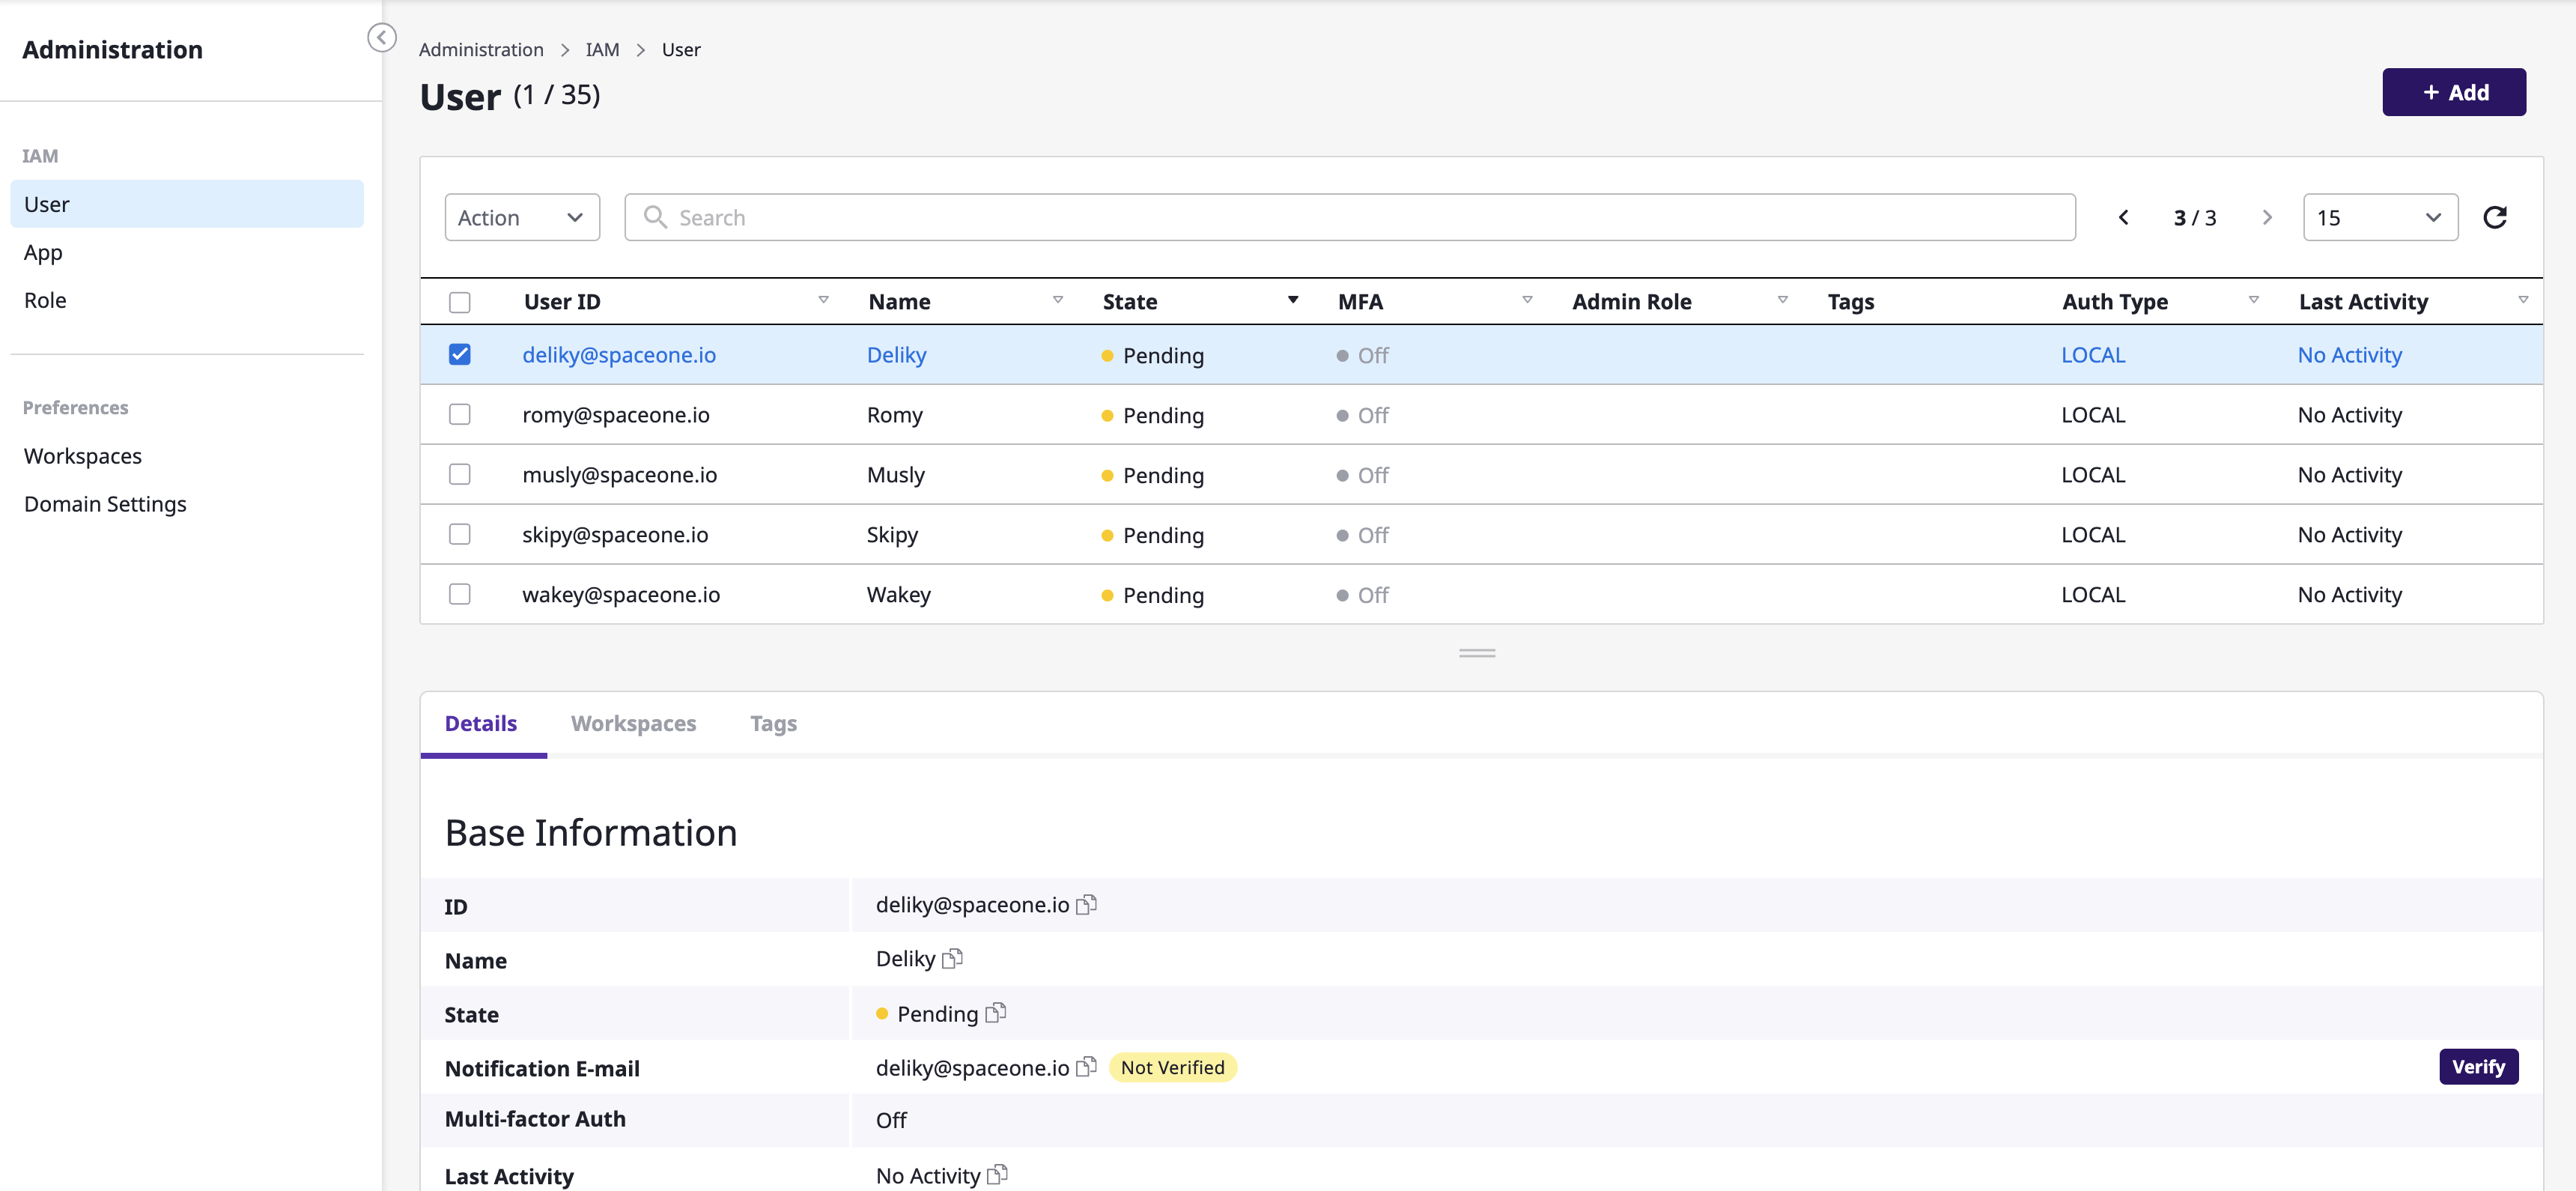
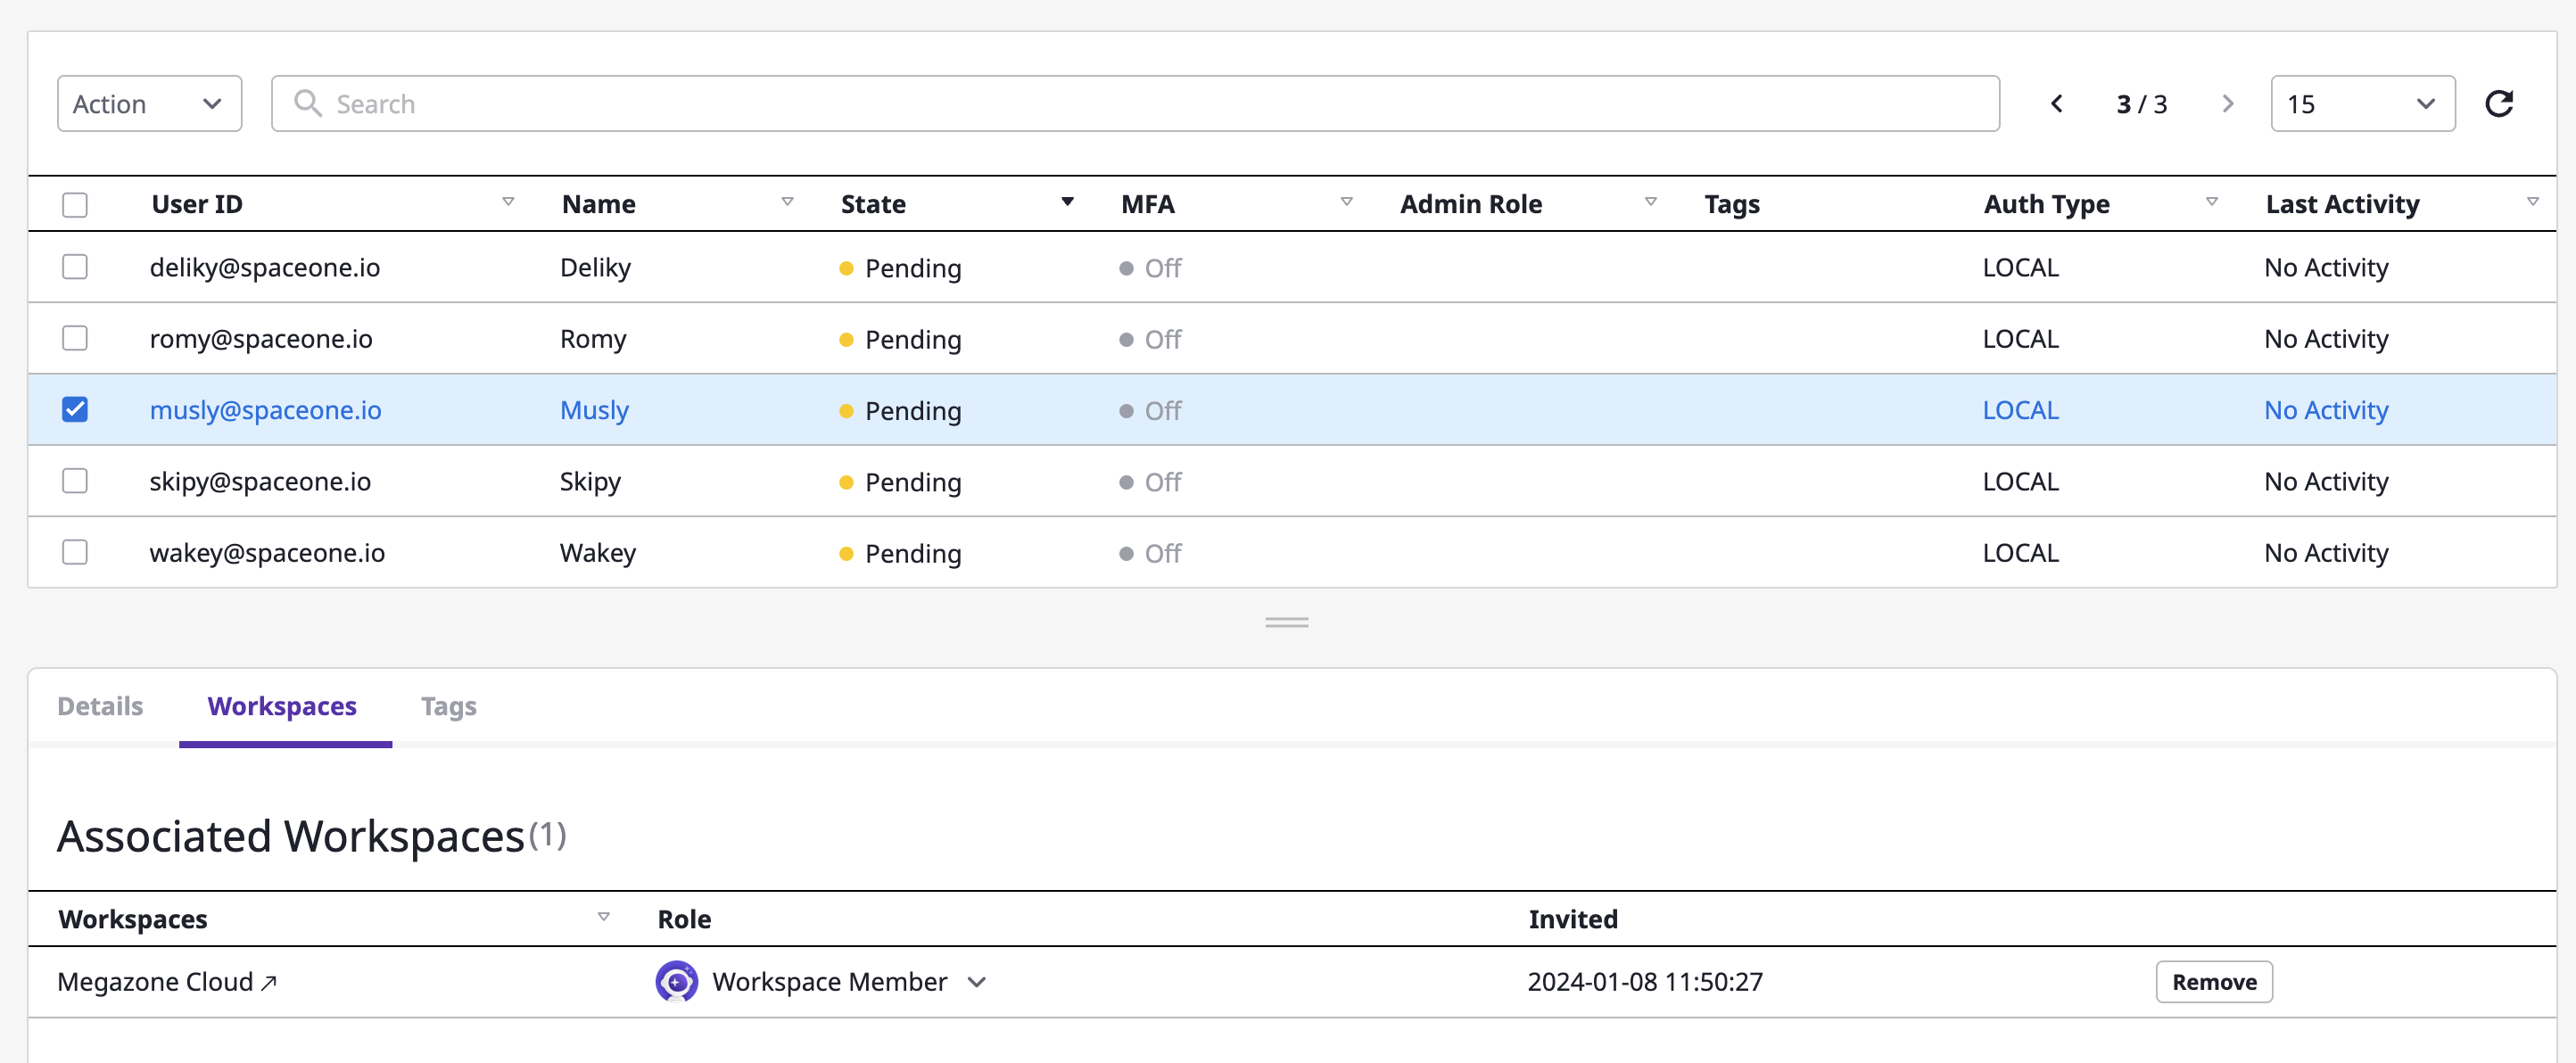
Users who have not yet logged in after being invited will have their state displayed as 'Pending.'
Editing Users
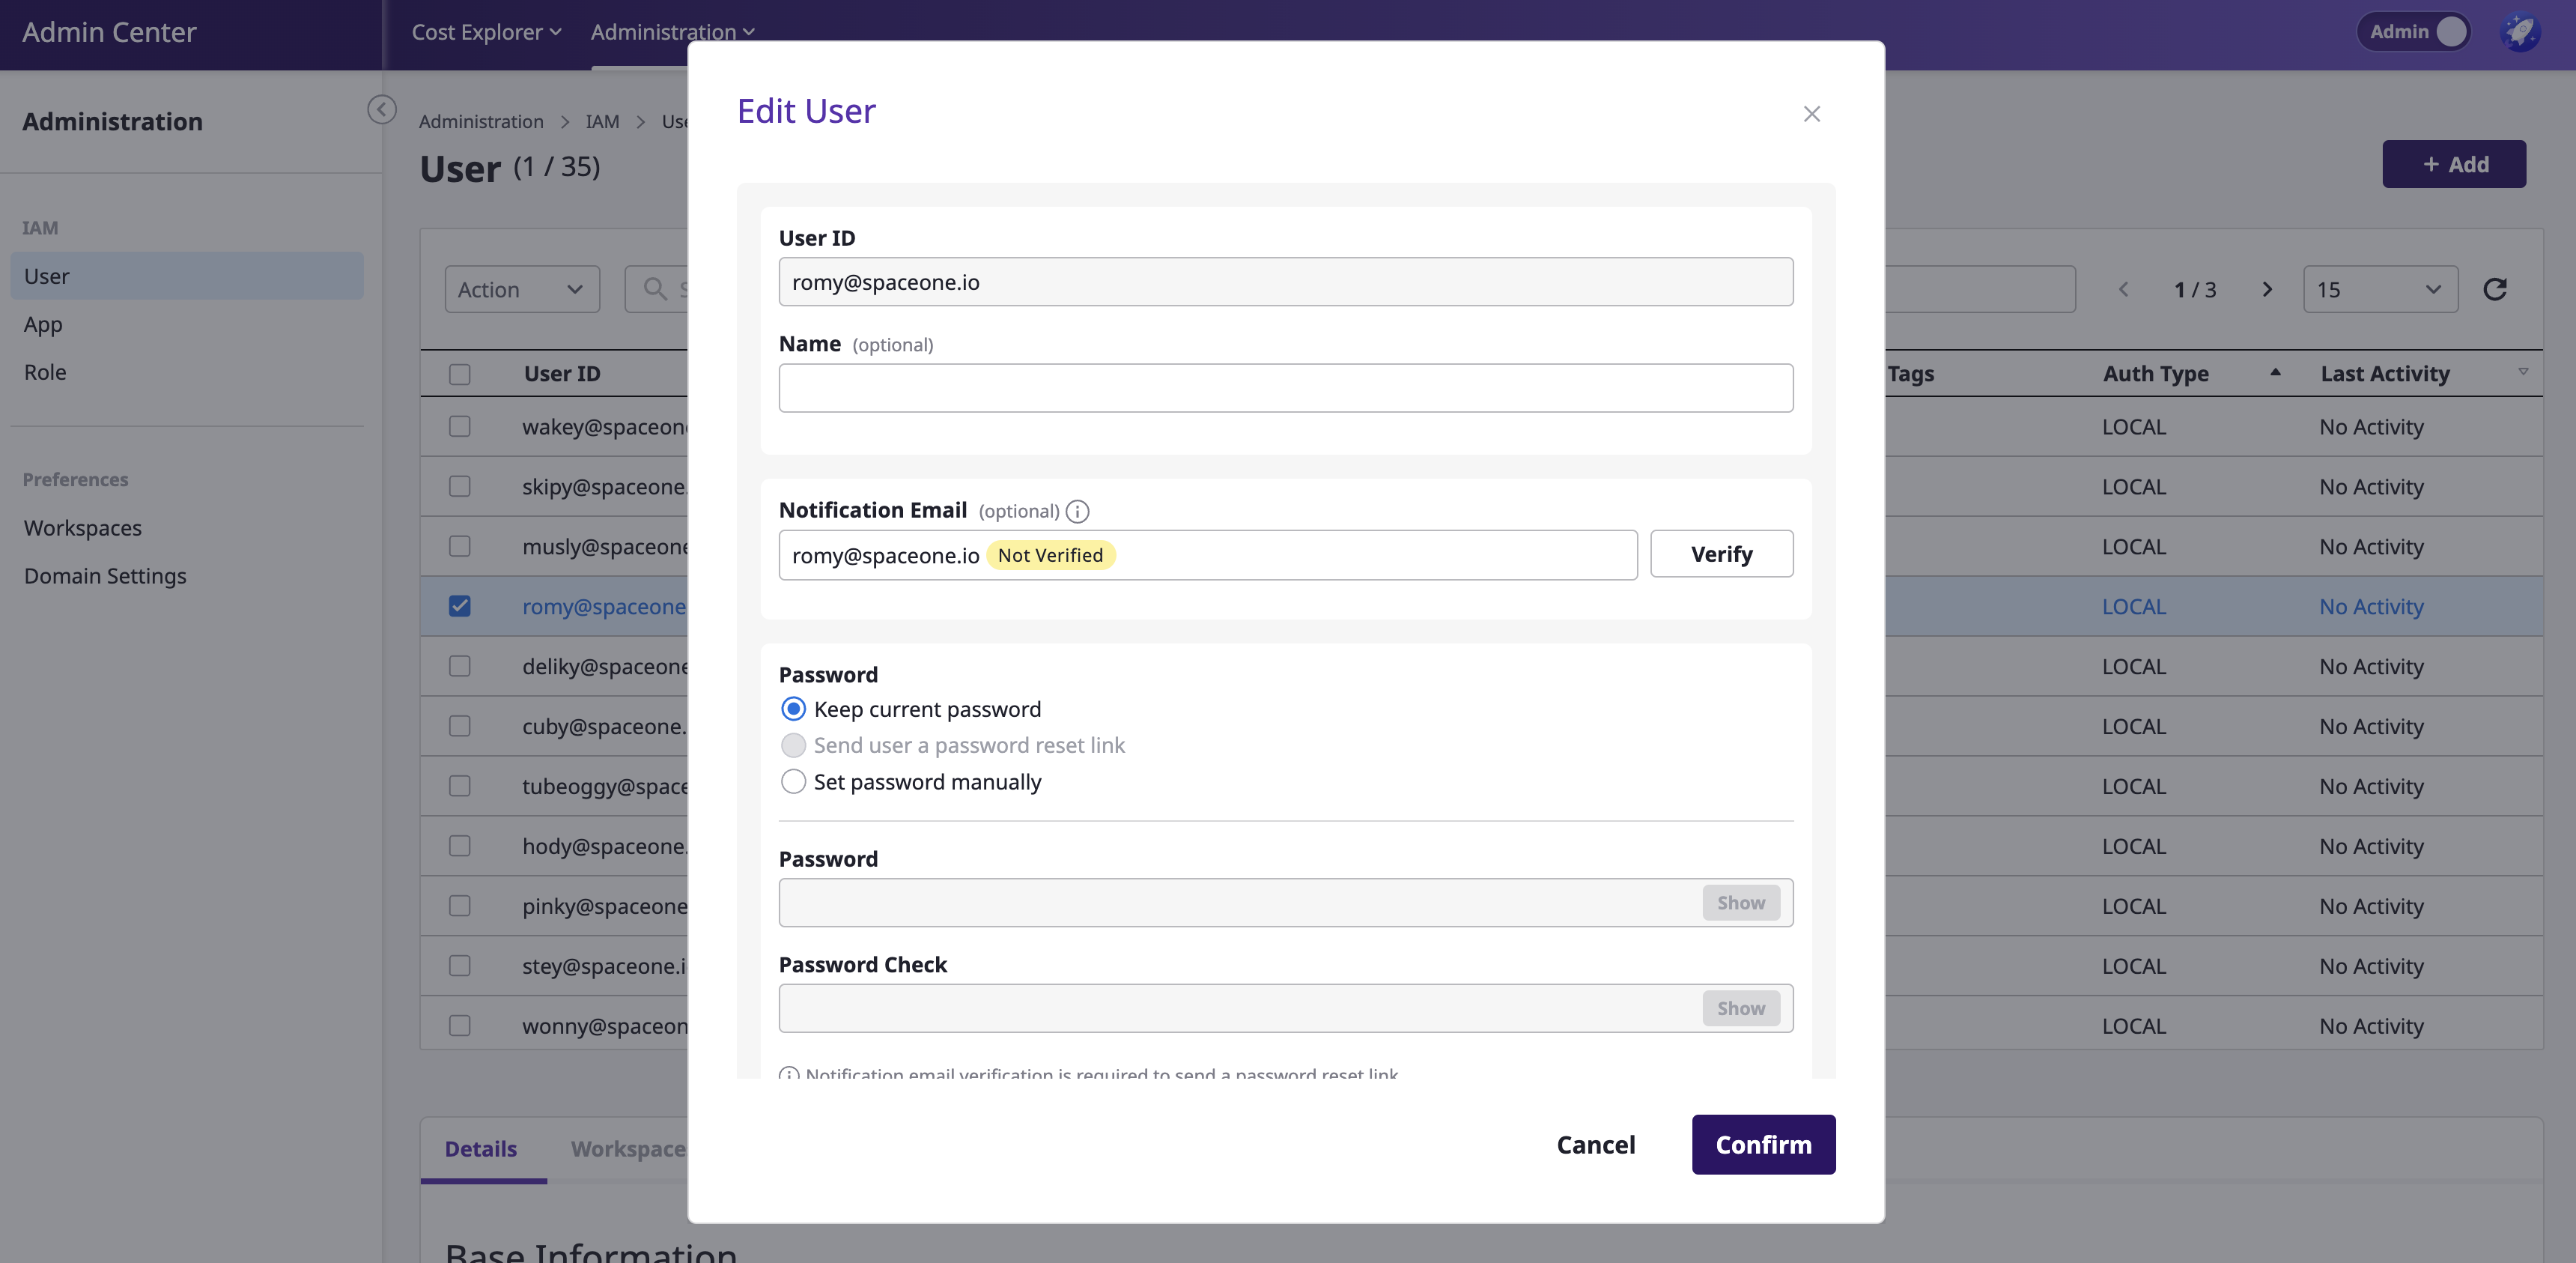
(1) Click on a specific user, then click the [Actions > Edit] button.

(2) Edit user information:
- Change Name
- Change Notification Email: the Admins can change the email address and verify it directly.
- Change Password: the Admins can either set a new password directly for the user or send a password reset link via email.
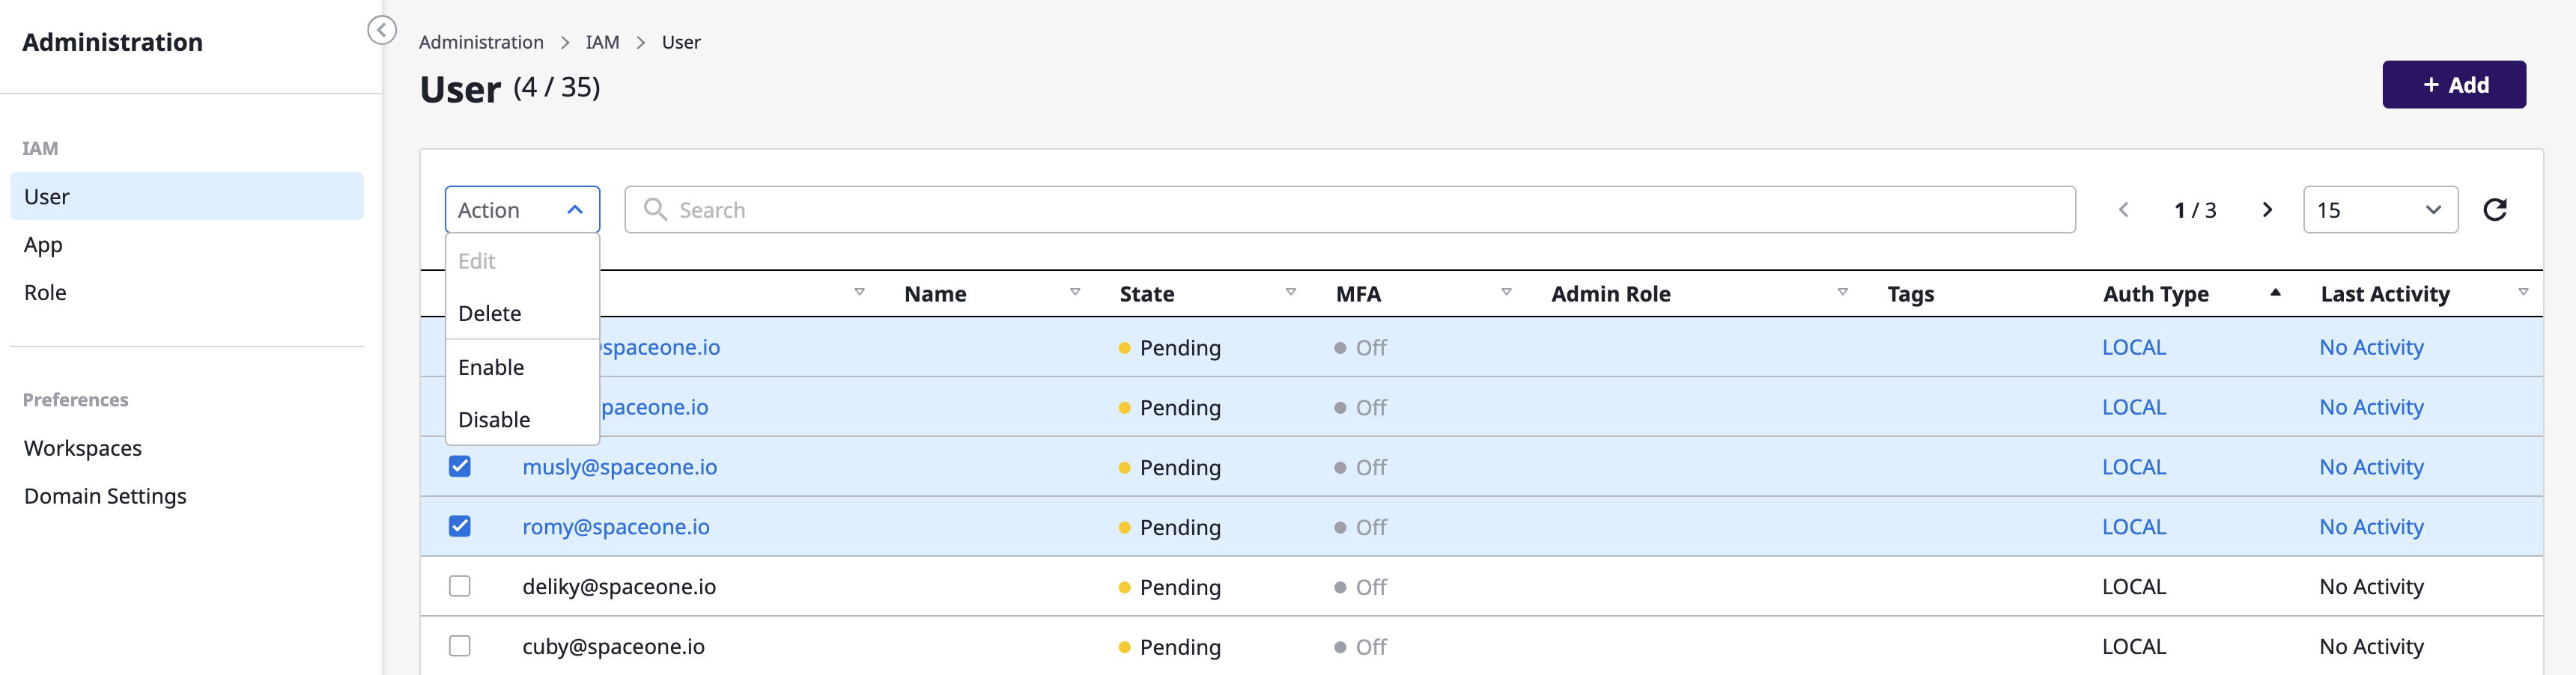
(3) Enable/Disable Users
Select one or more users, then click the [Actions > Enable] or [Actions > Disable] button to change their active status.