Workspace Settings
Create and manage separate workspace environments according to the size and structure of your organization.
Accessing the Menu
(1) Switch to Admin Center

(2) Navigate to [Preferences > Workspaces]
Creating Workspaces & Inviting Users
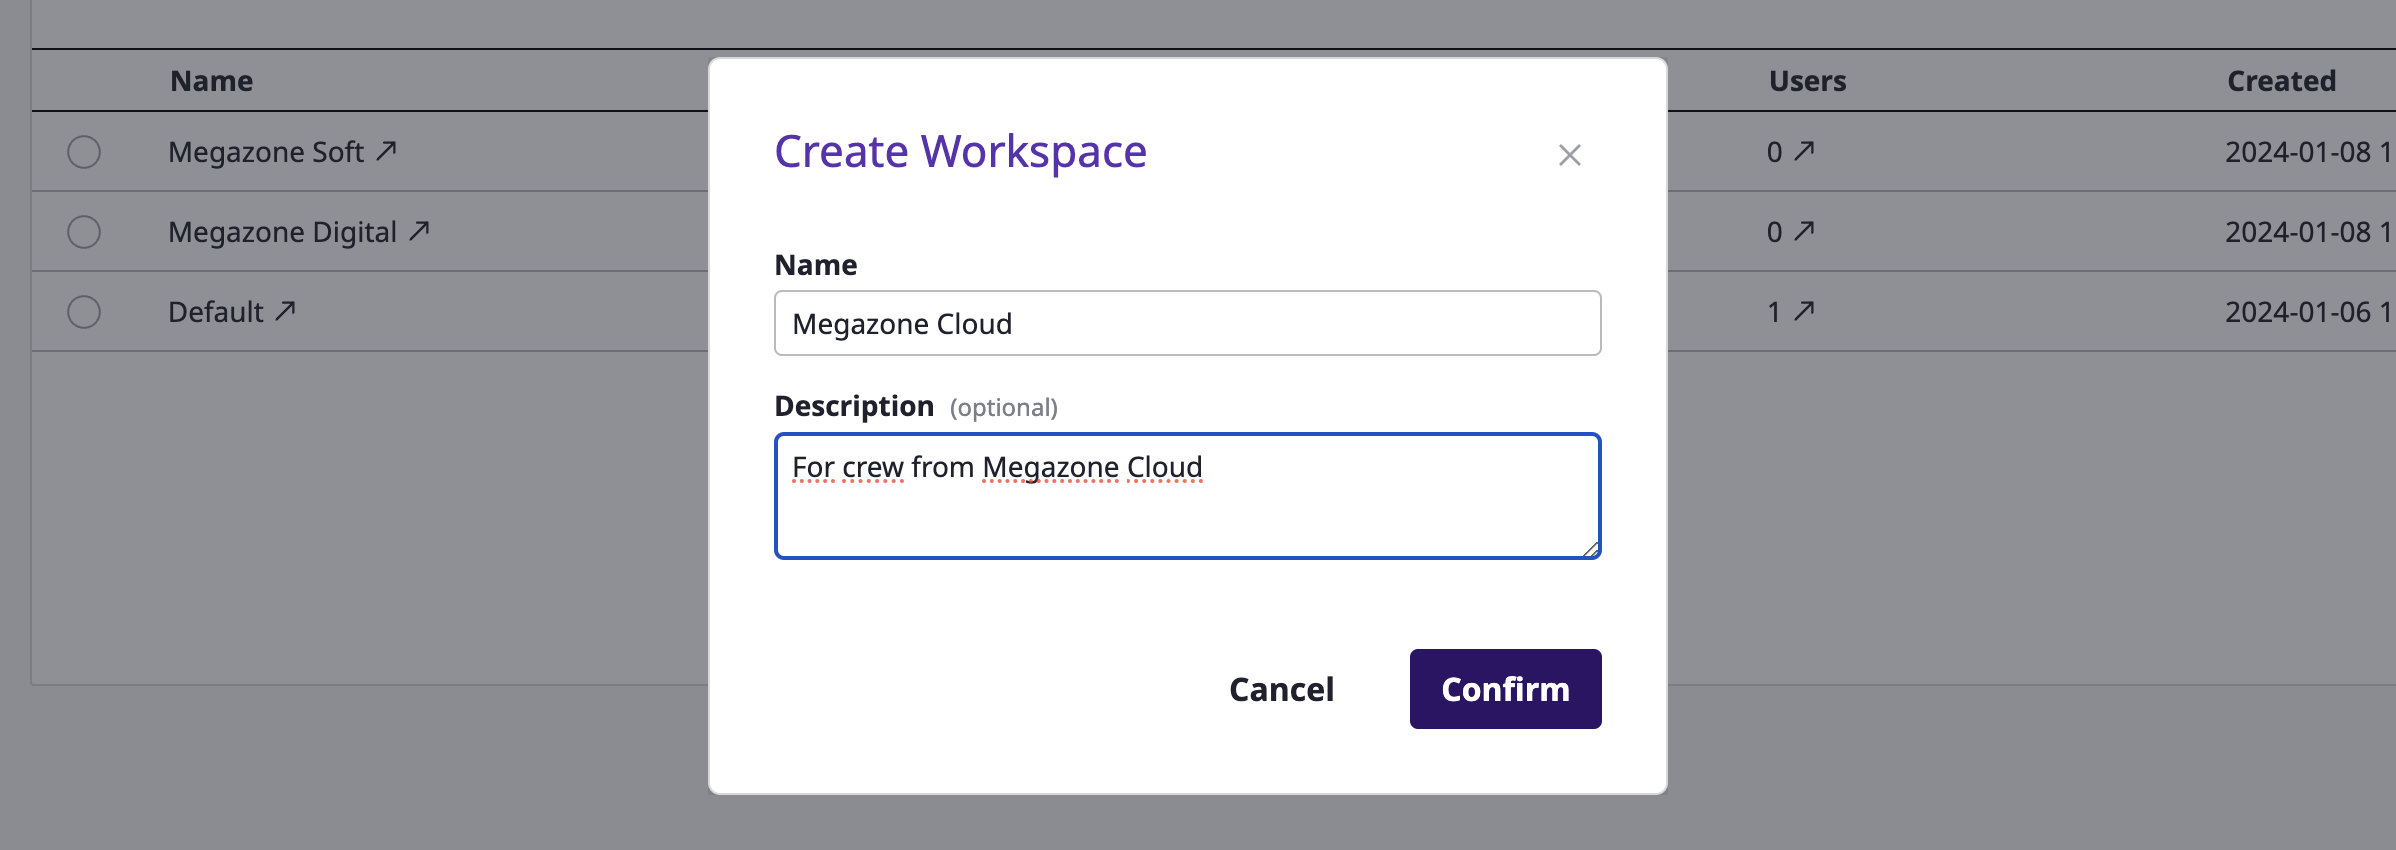
Creating a Workspace
(1) Click the [+ Create] button at the top

(2) Enter the basic information and create
- Enter a name
- Enter a description
- Select the main color of the workspace
- Click the [Confirm] button
Once the workspace is created, you can immediately invite users.
Inviting Users to a New Workspace
Immediate invitation can be skipped; users can be added to the workspace later as well.
(1) Enter user accounts to add them to the list
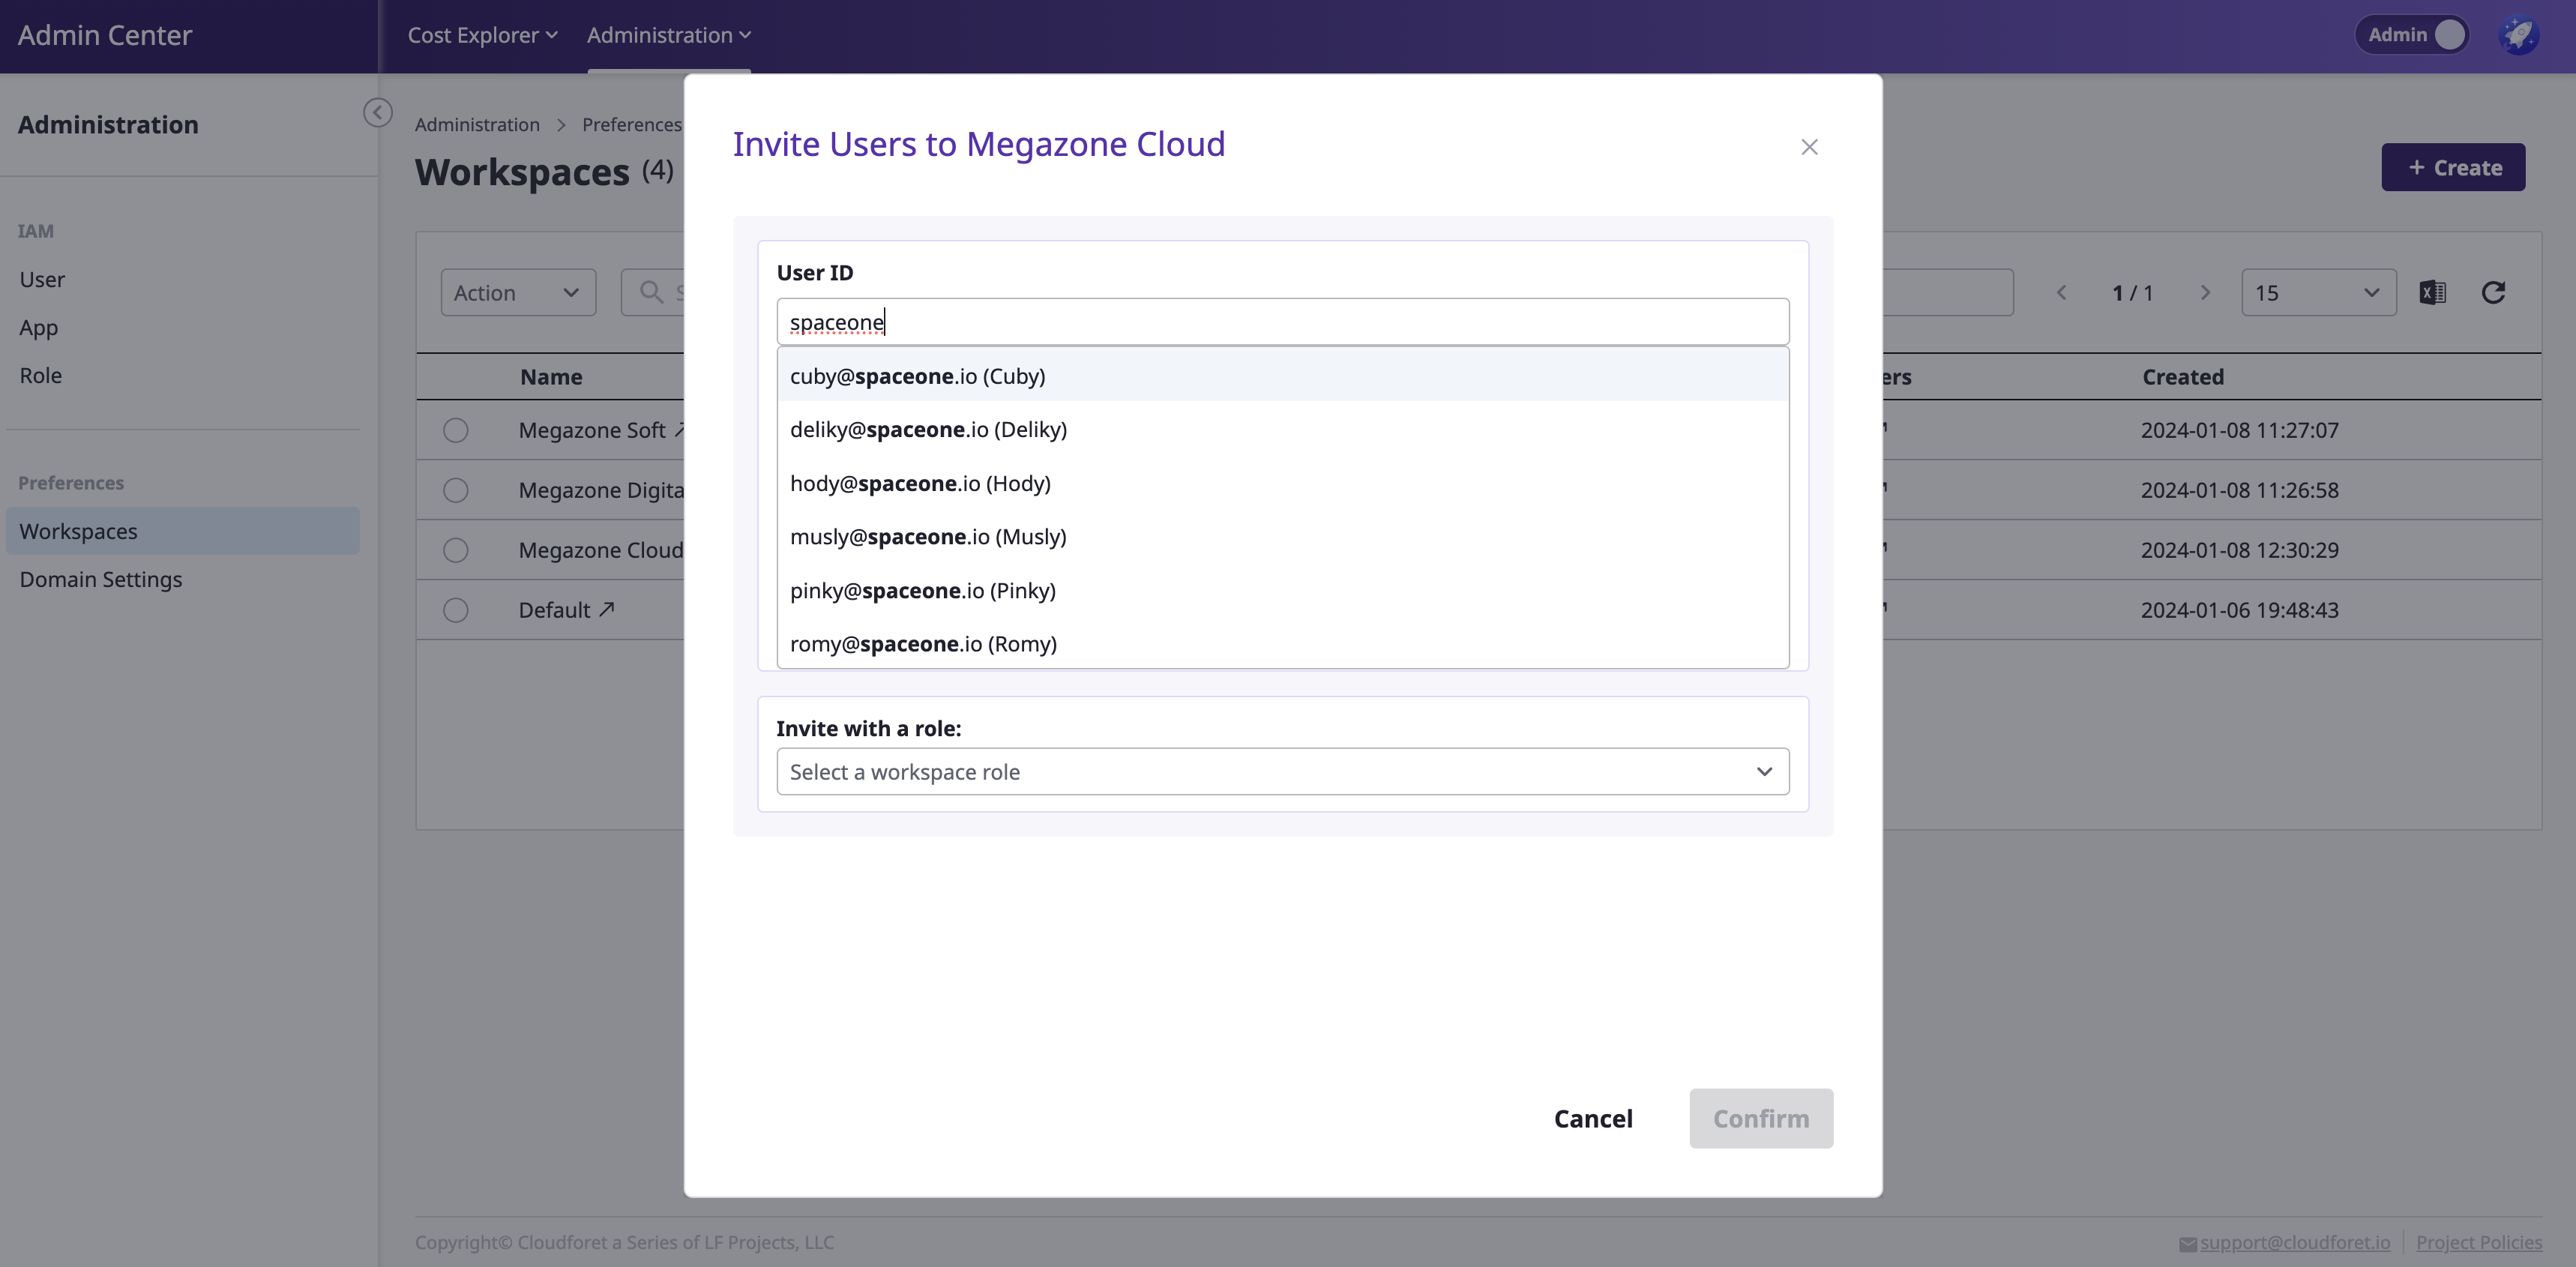
(2) Select a role
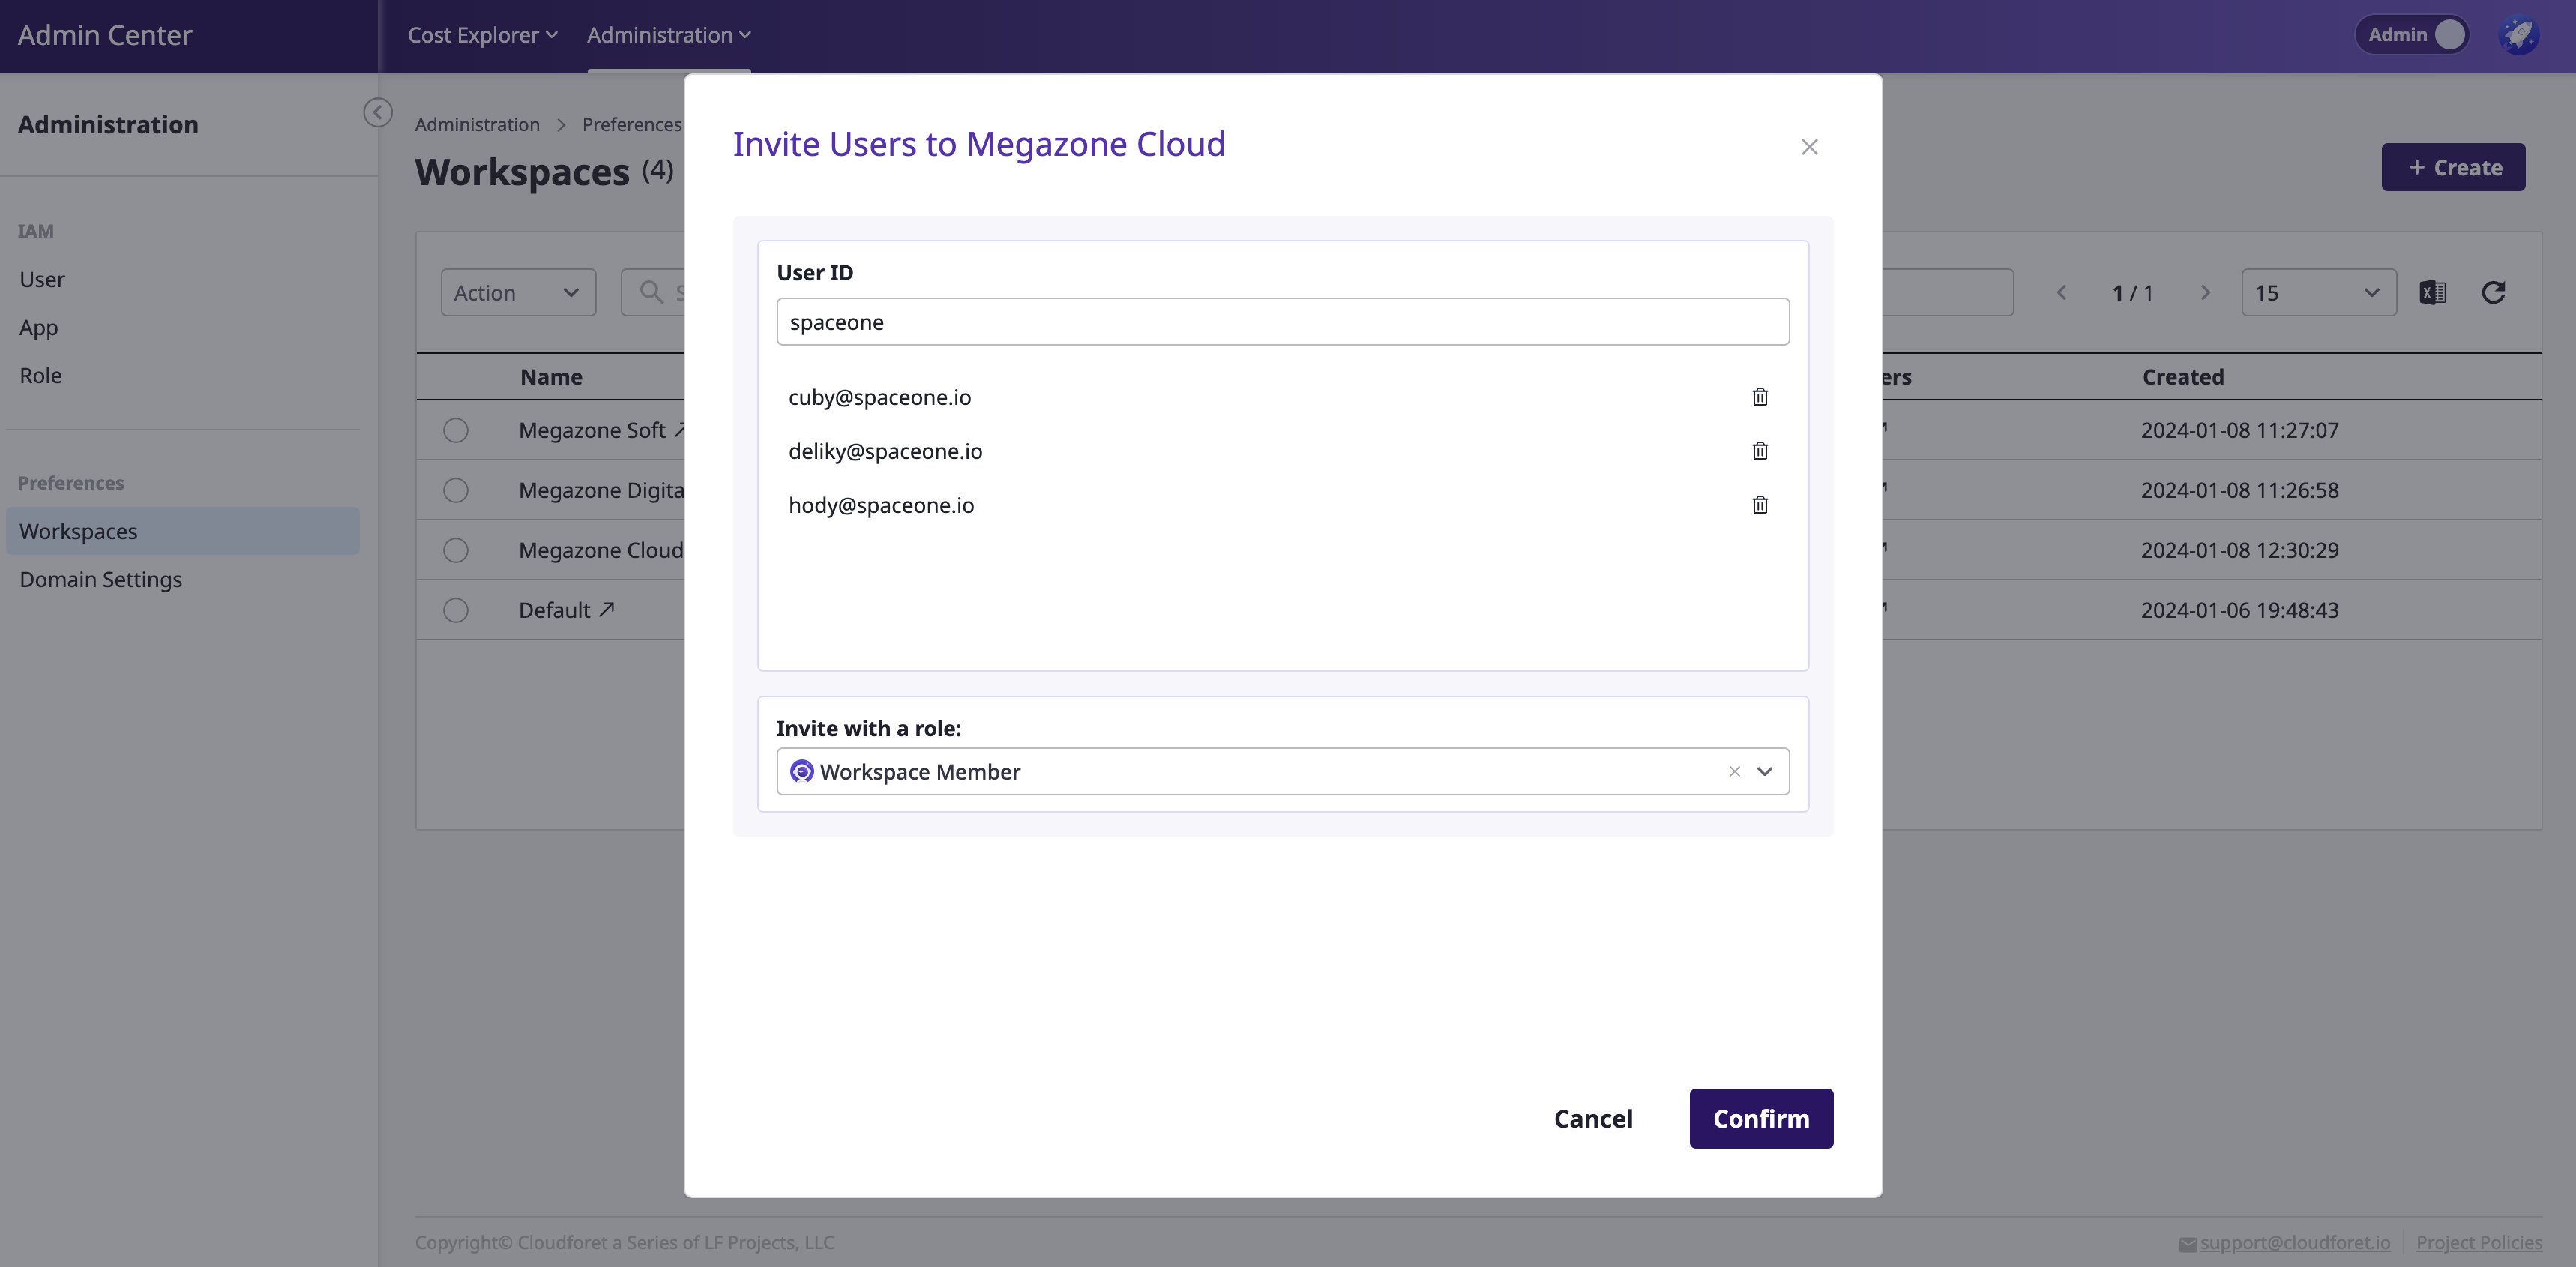
(3) Click the [Confirm] button to complete the invitation
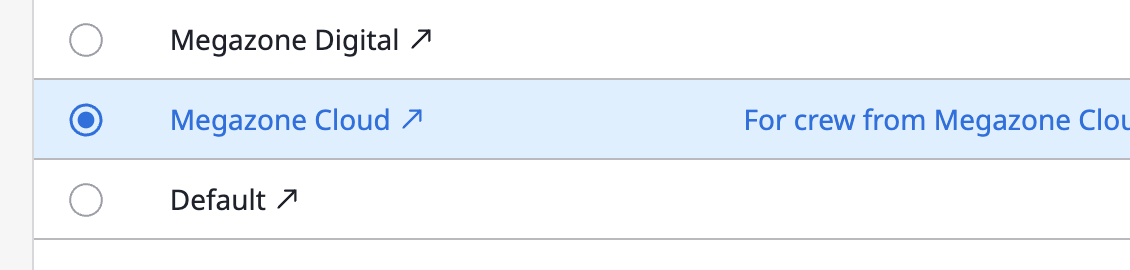
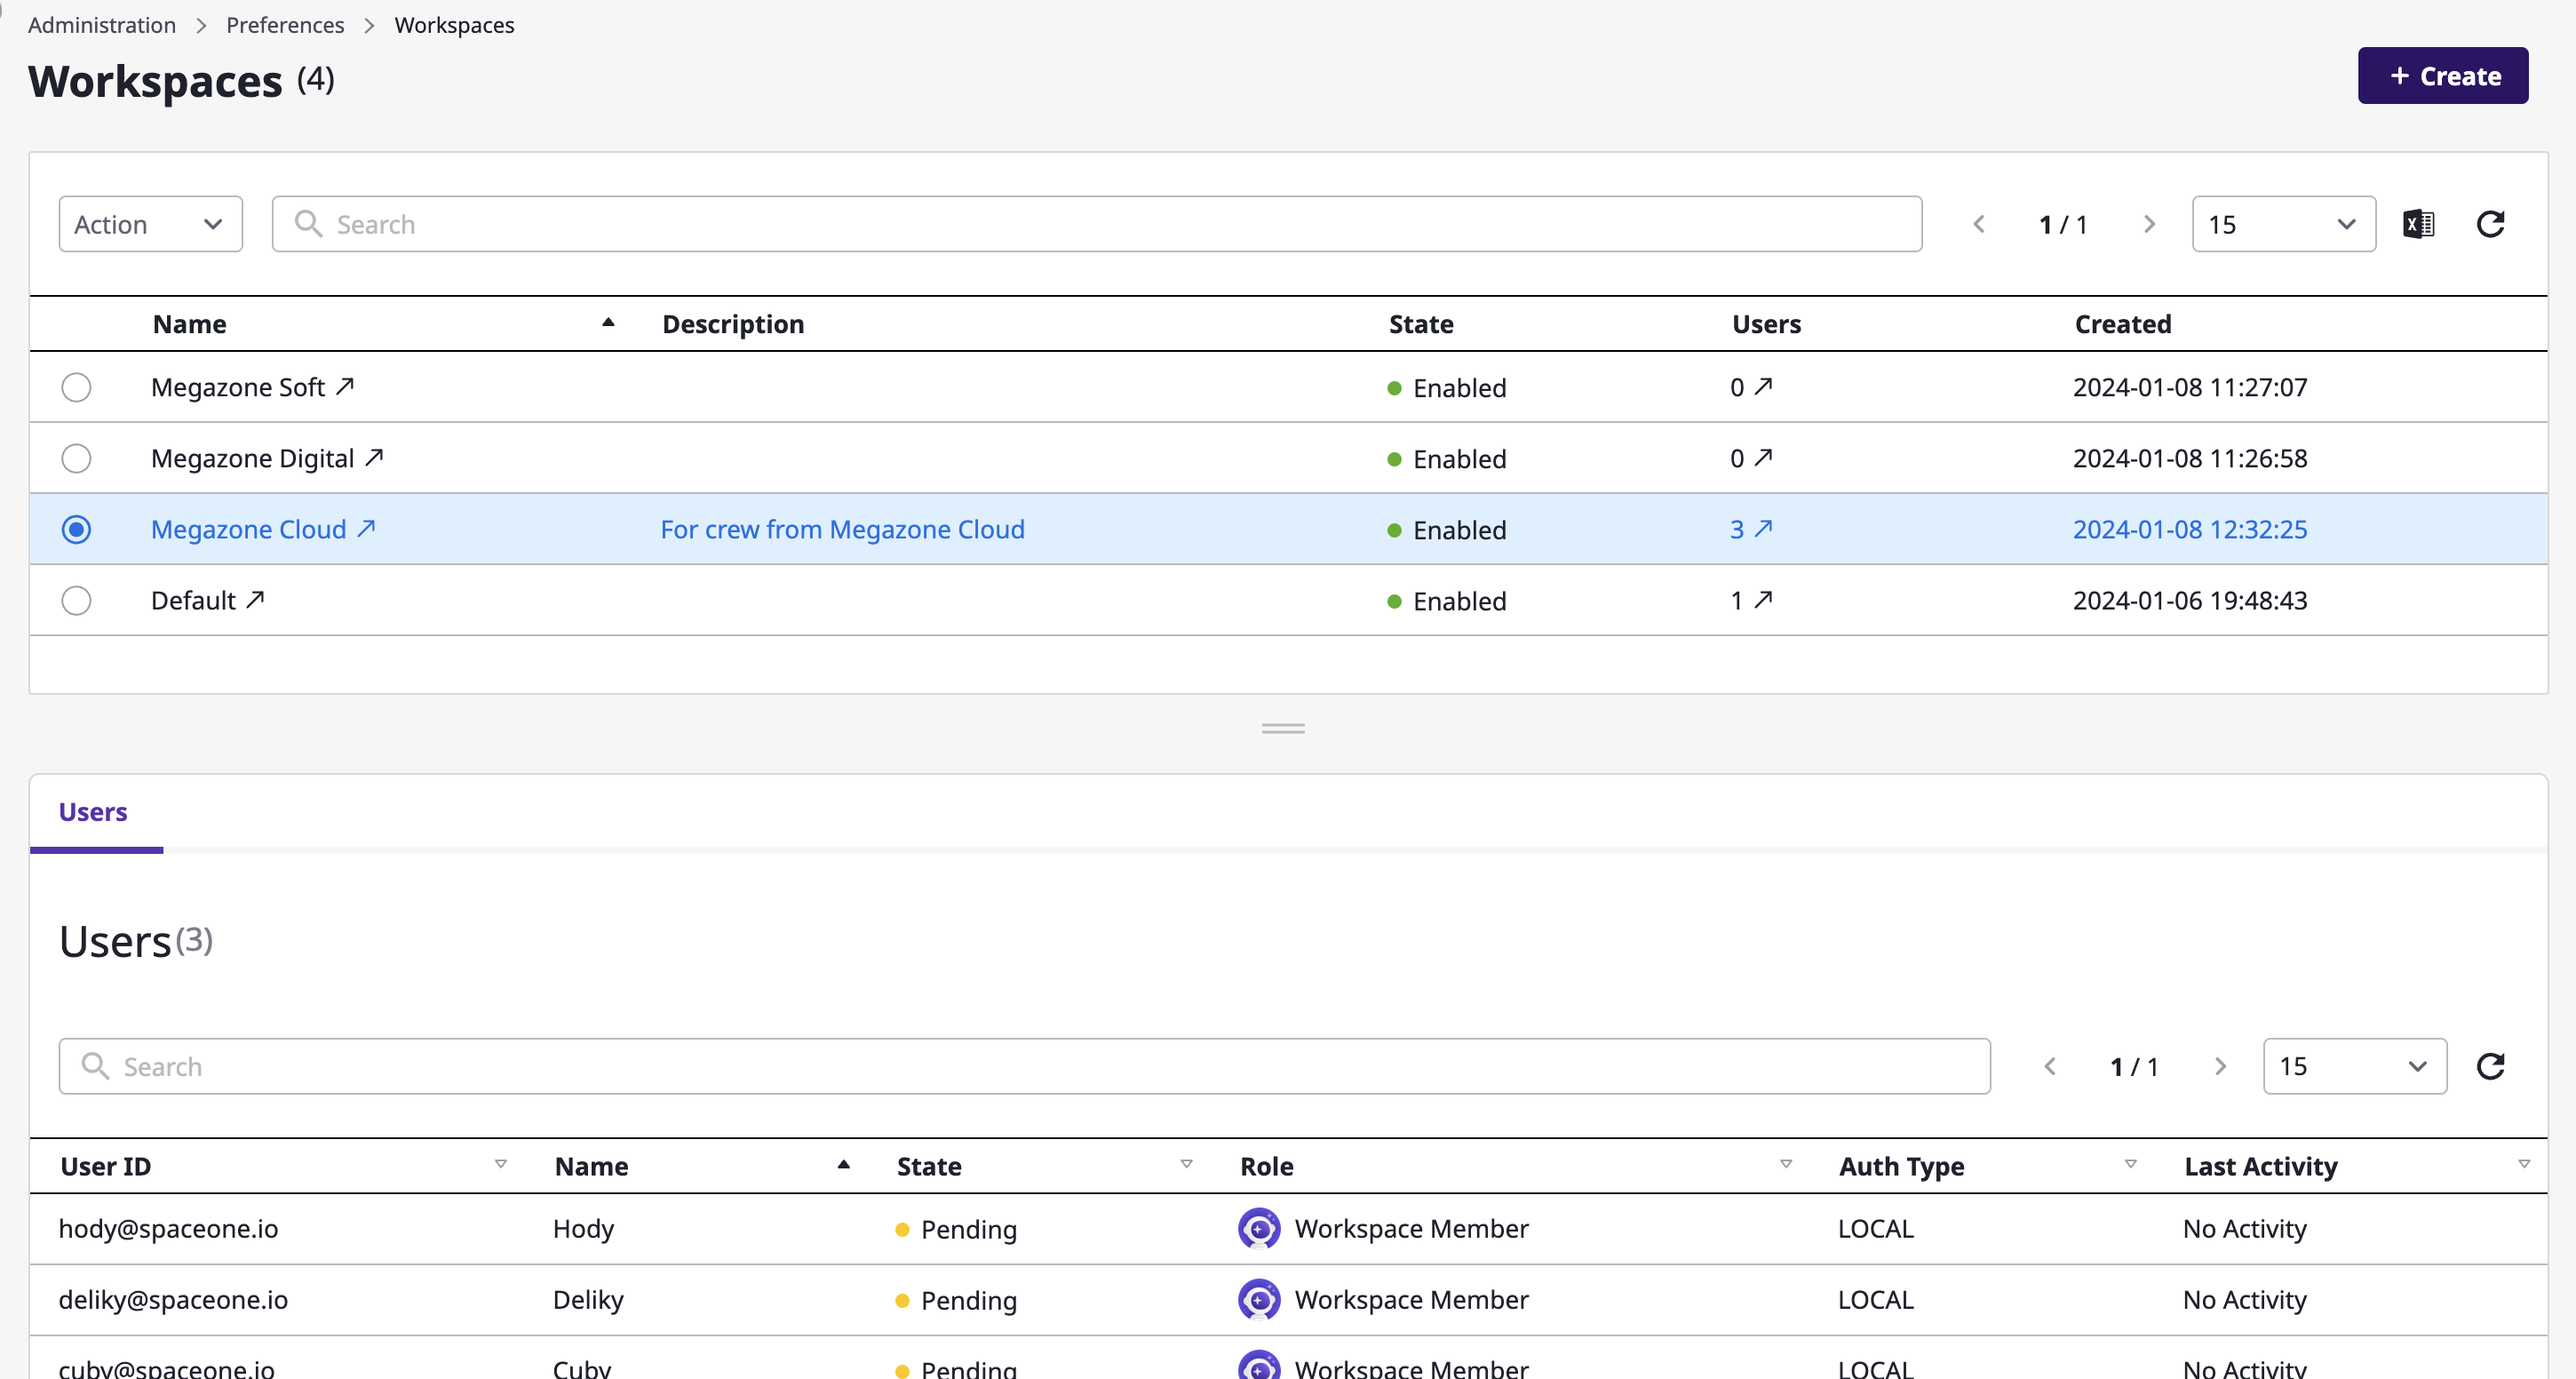
- You can view the user list at the bottom when you select the created workspace.
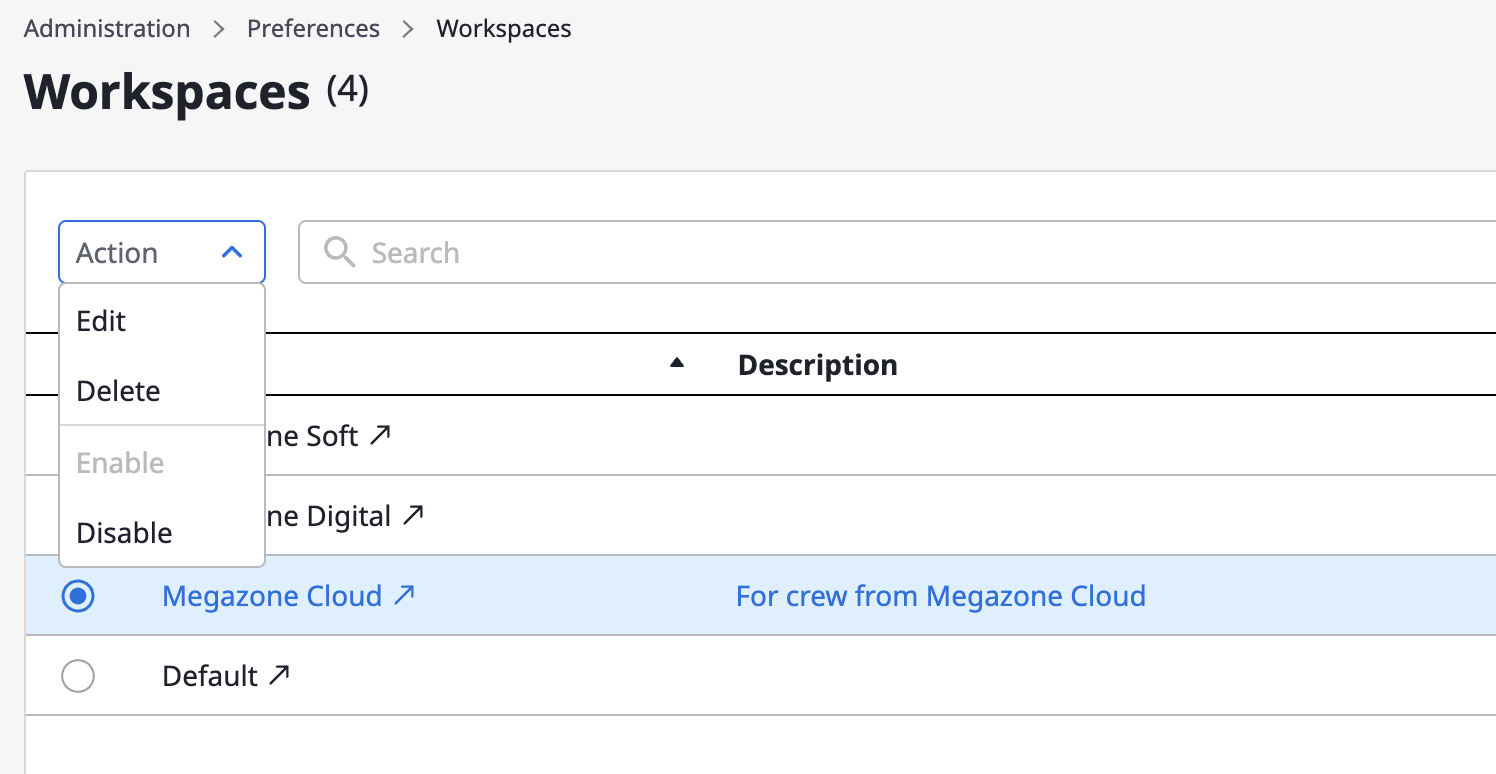
Editing Workspaces
After selecting a specific workspace, click the [Actions] button at the top to make the following changes:
Edit: Edit the workspace name and description.Delete: Delete the workspace- Upon deletion, all users associated with that workspace will lose access.
EnableorDisable: Change the activation status of the workspace,- When deactivated, all users associated with that workspace will lose access.
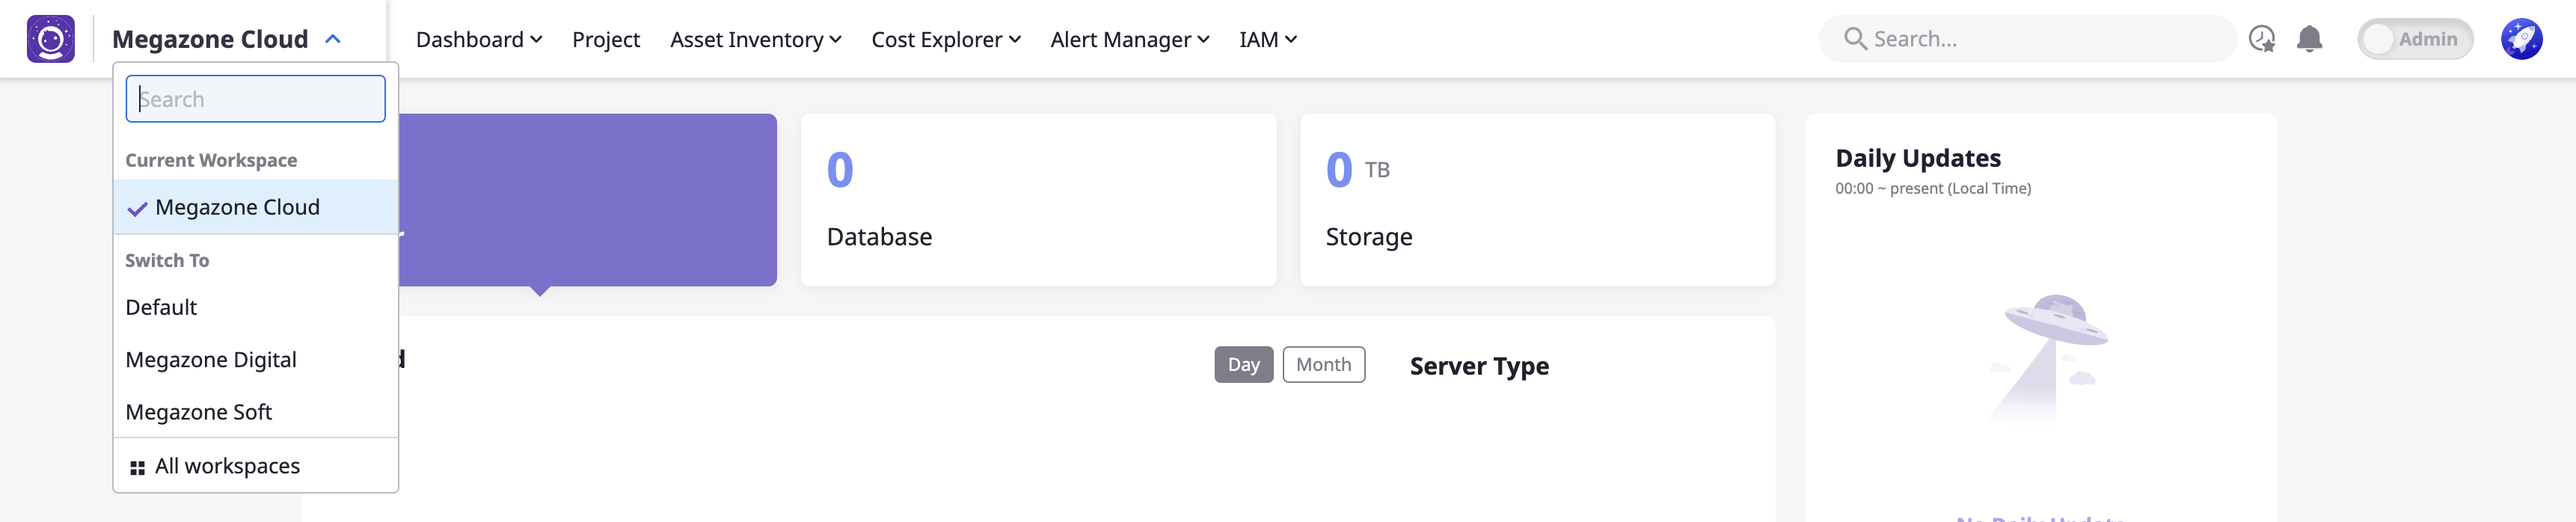
Switching to a Workspace
- Clicking on a specific workspace name will switch to that workspace environment.
- Switching to a workspace will automatically exit the Admin Center.