To use Cloudforet's services, the following three prerequisites must be met:
- User settings
- Project settings
- Service account settings
User settings
Cloudforet users are classified into three types: internal users, external users, and API users.
This section only introduces how to add internal users, and how to add external users and API users can be found in [IAM] user guide.
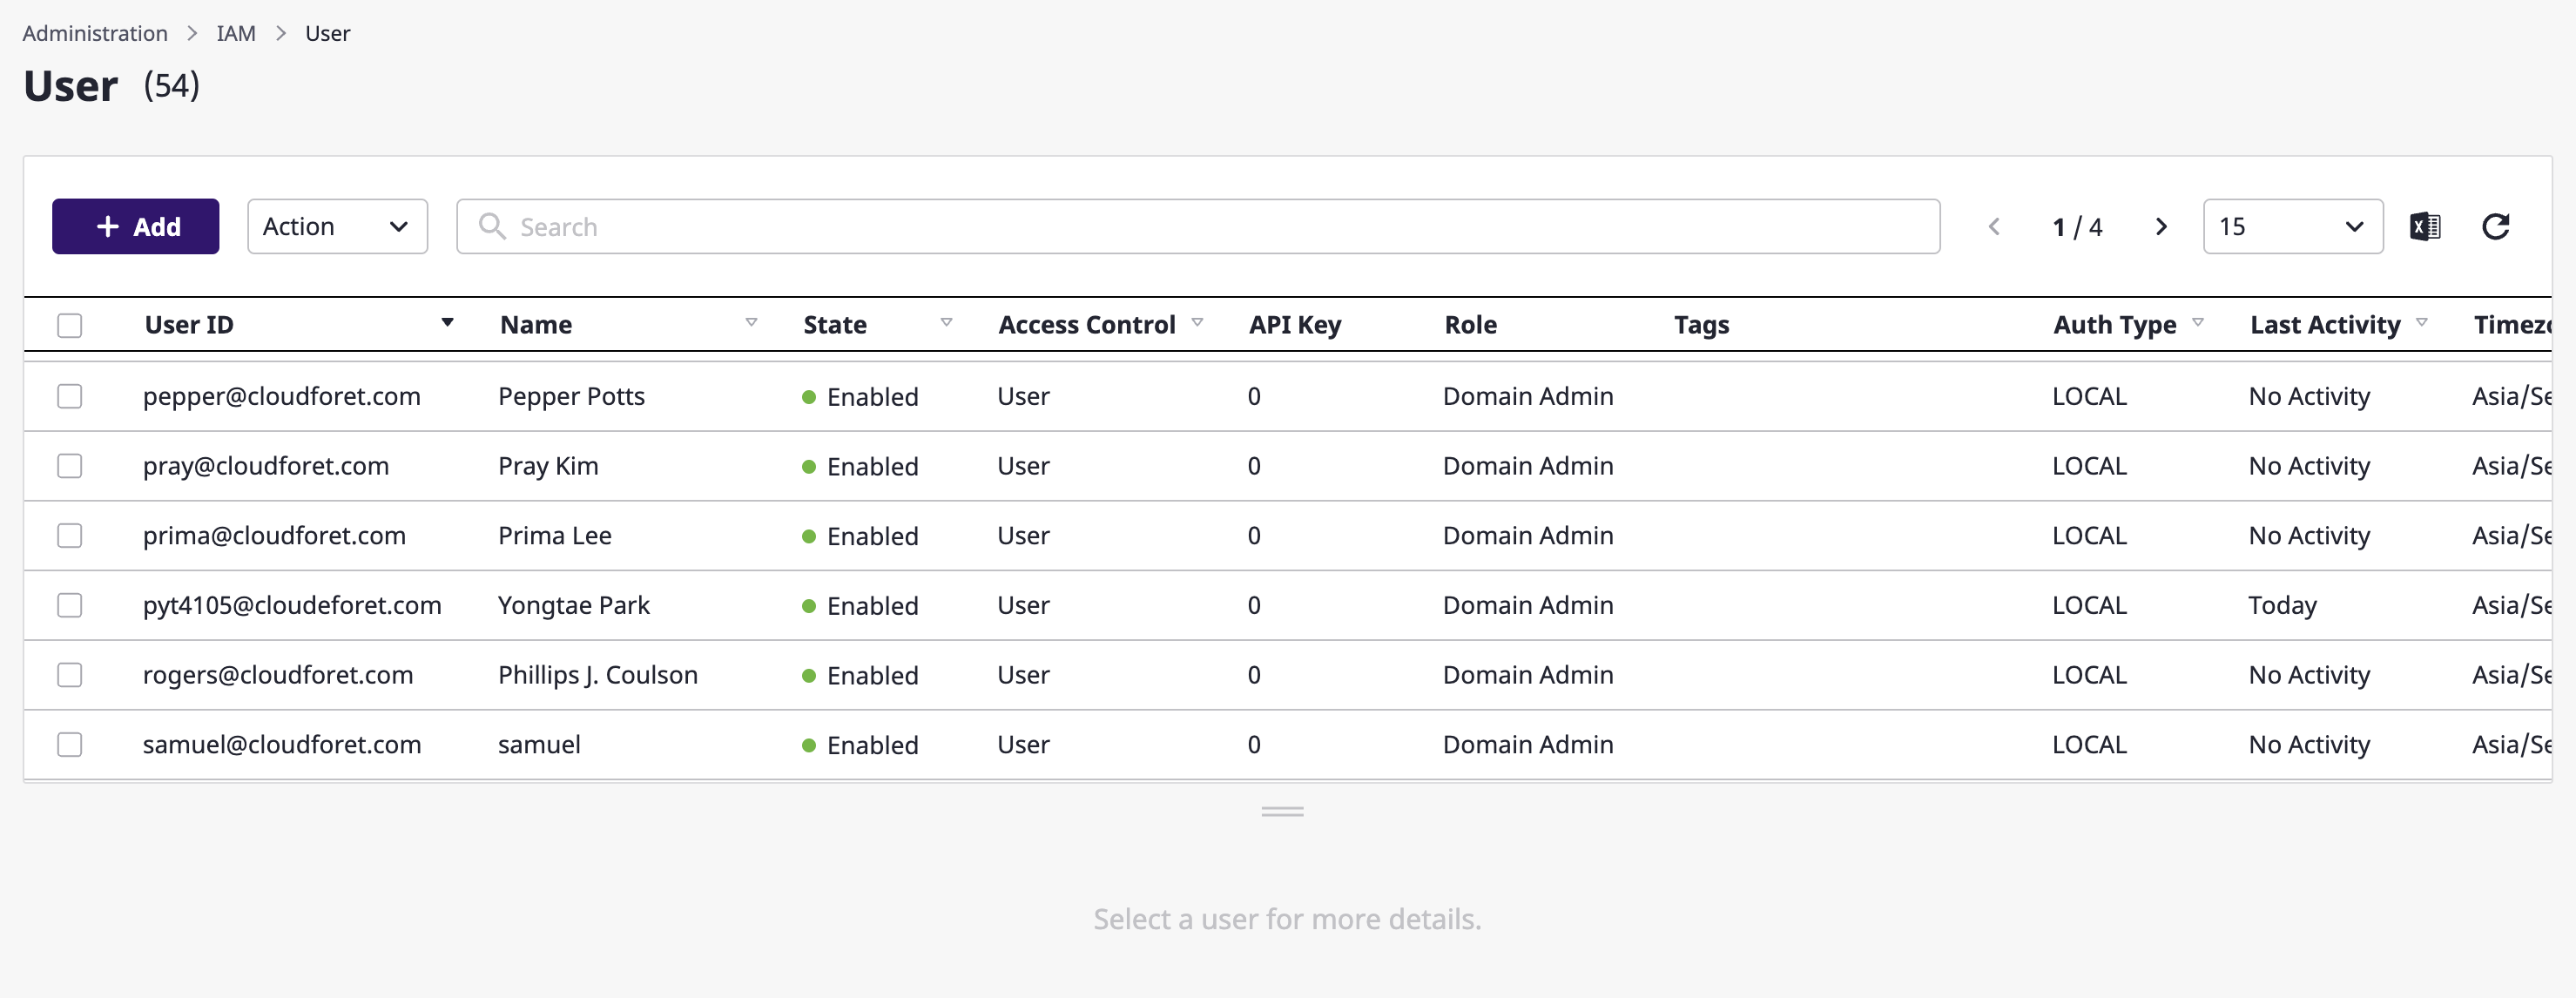
Adding a user
(1) Click the [Create] button on the [Admin > Users] page.
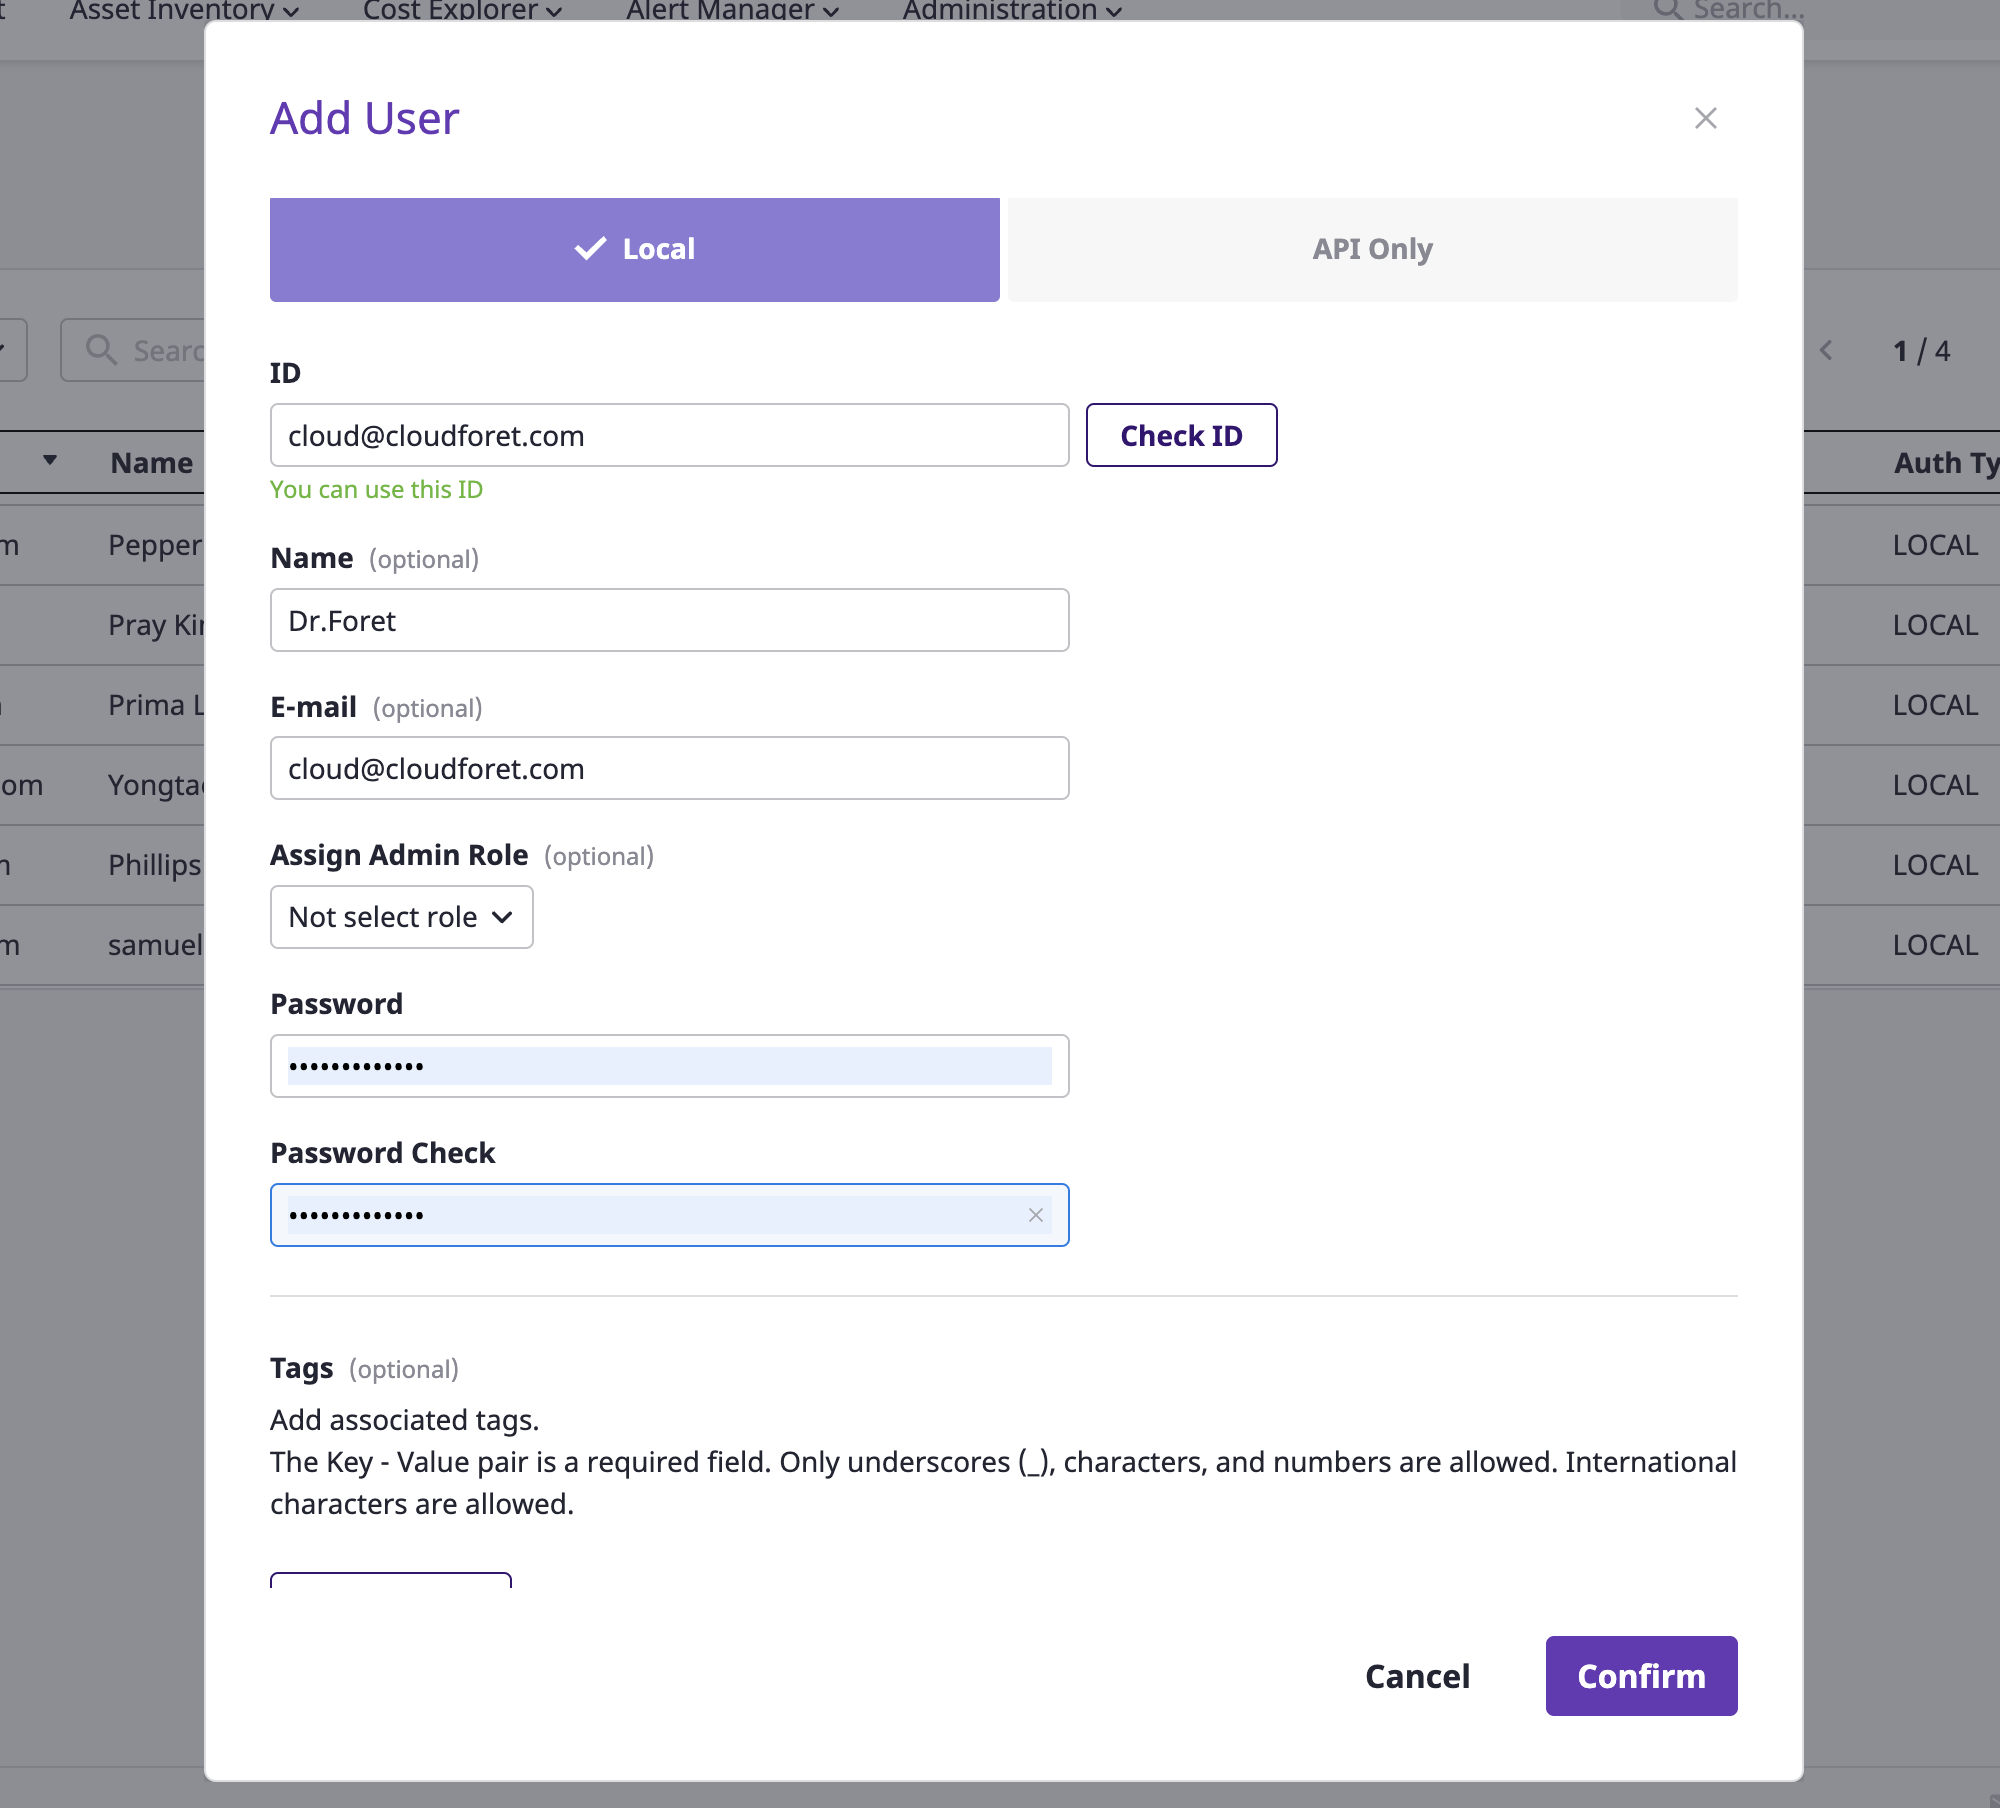
(2) In the [Create user] modal, select the [Local] tab.
(2-1) After entering the ID, click the [Check ID] button to check if the ID is valid.

(2-2) After entering the name, email, and password to identify the user, click the [OK] button to complete the user creation.
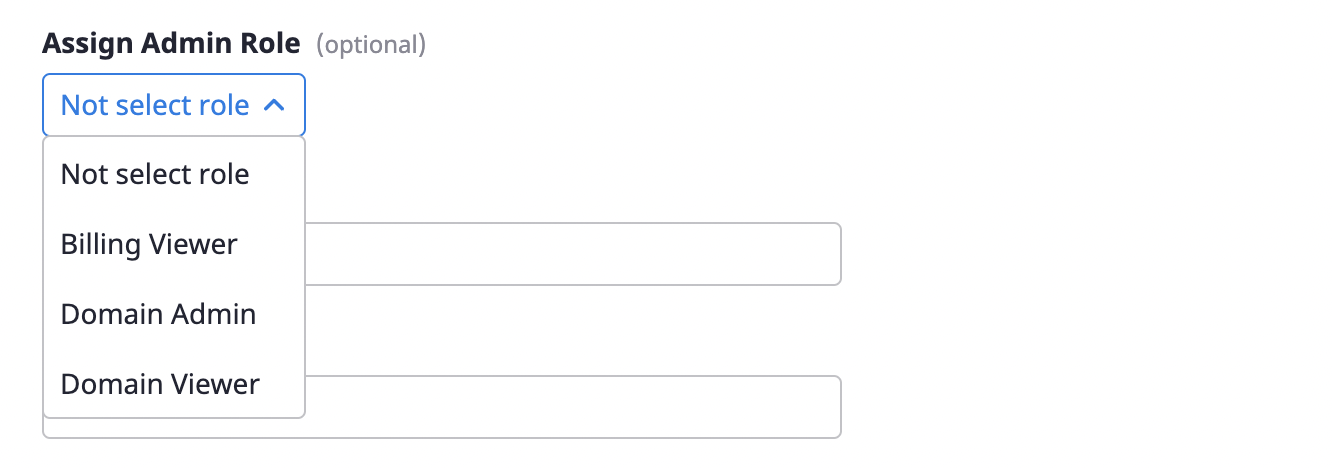
Assign administrator’s privileges
If you want to give a user administrator’s privileges, you can assign them by selecting them from the [Assign admin role] dropdown.
If nothing is selected, no privileges will be granted to that user.
For a more detailed information on permissions, see here.
Project settings
Create project and Project group for systematic resource management .
Creating a project group
Since a project must belong to one project group, you must first create a project group before creating a project.
(1) Click the [Create project group] button on the [Project] page.
(2) After entering the project group name in the [Create project group] modal dialog, click the [OK] button to create the project group.

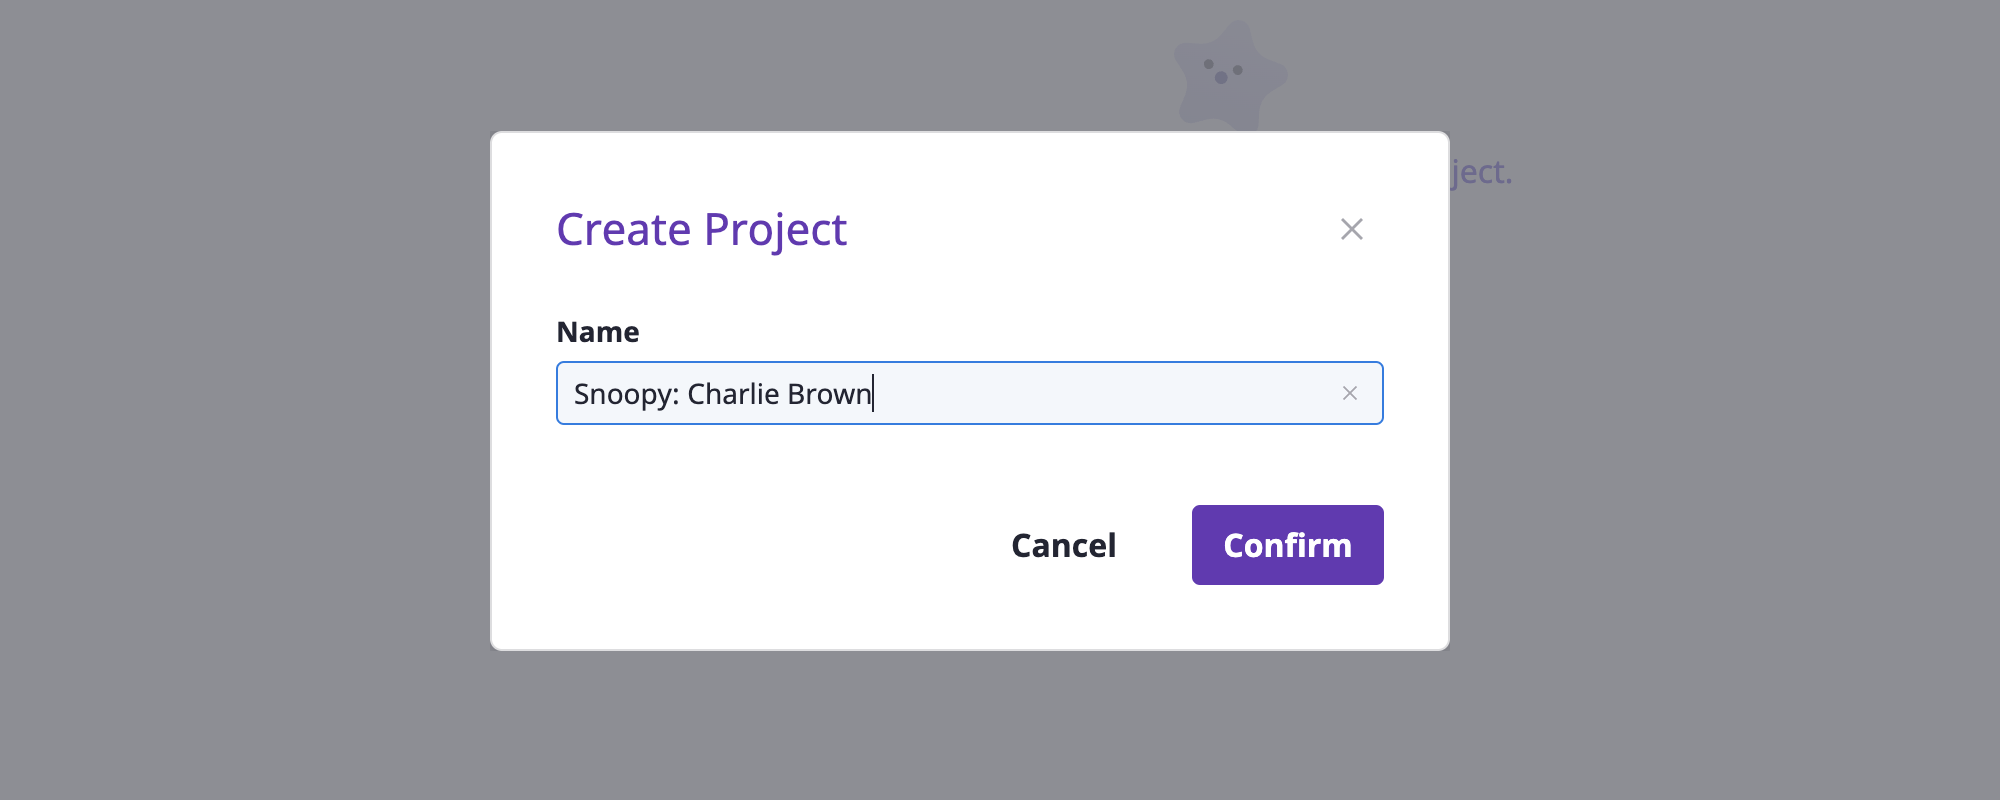
Creating a project
After creating a project group, create a project that will belong to it.
(1) Select the previously created project group from the list of project groups on the left and click the [Create project] button at the top right.
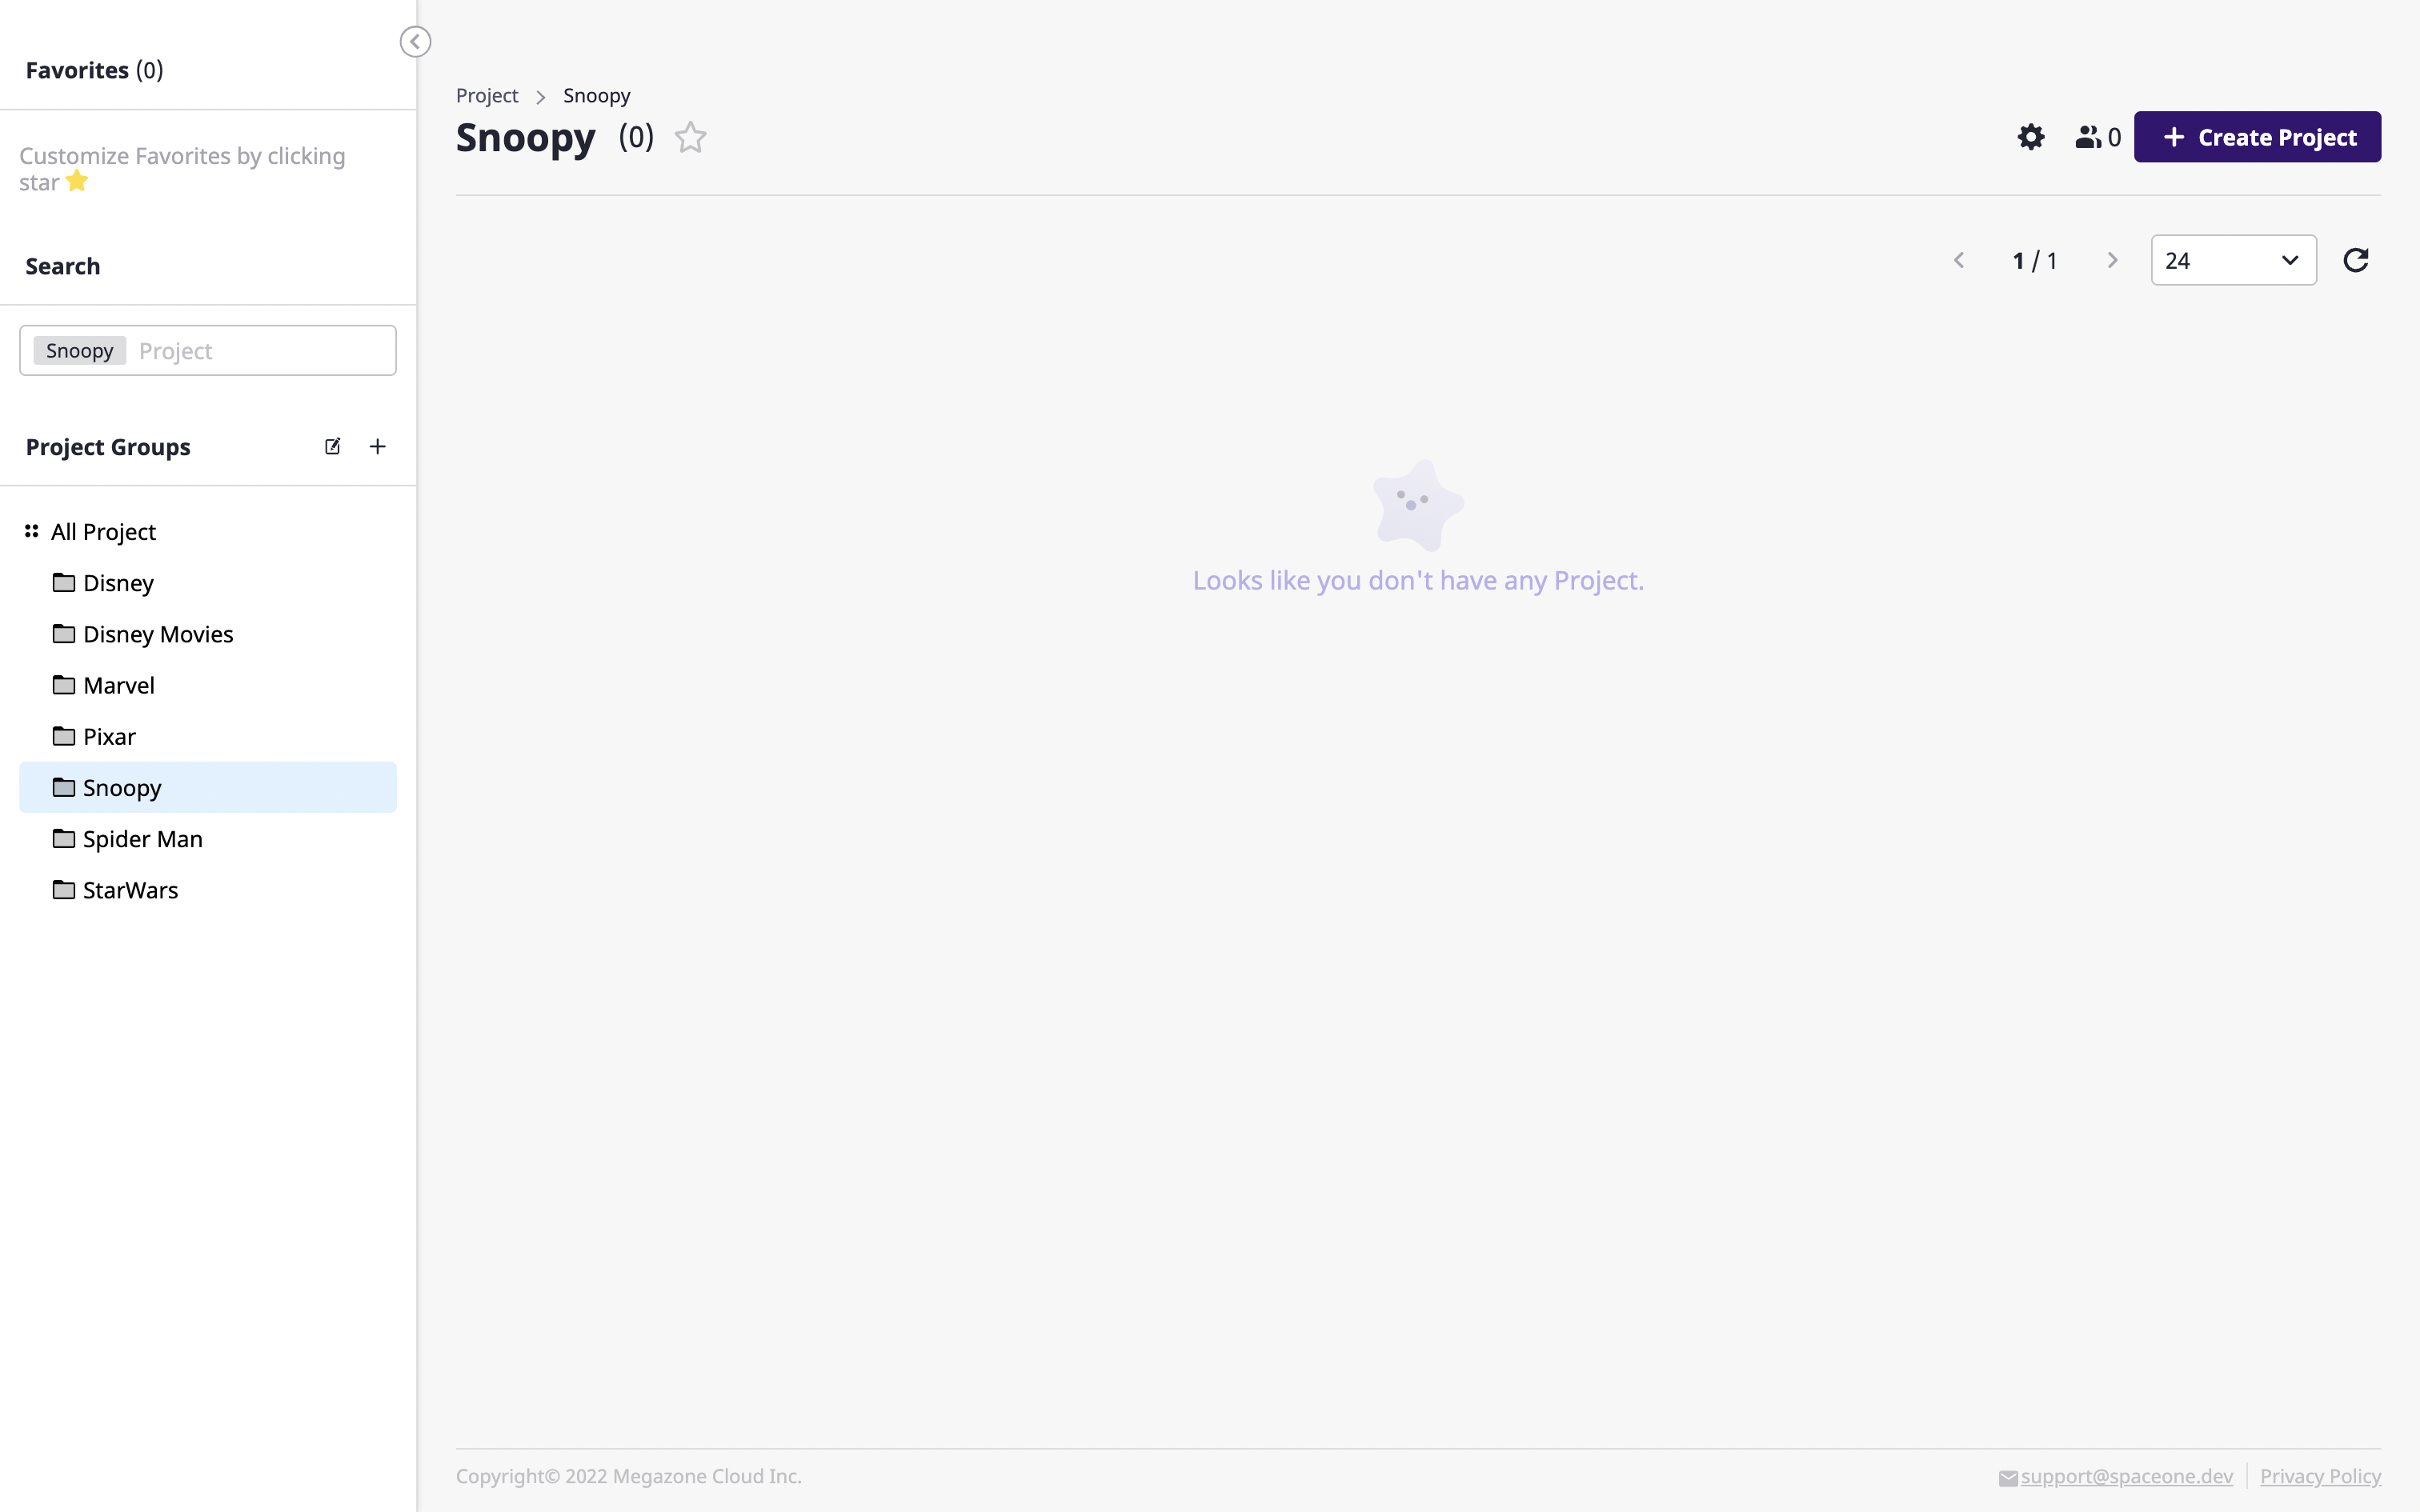
(2) After entering the project name in the [Create project] modal dialog, click the [OK] button to create the project.
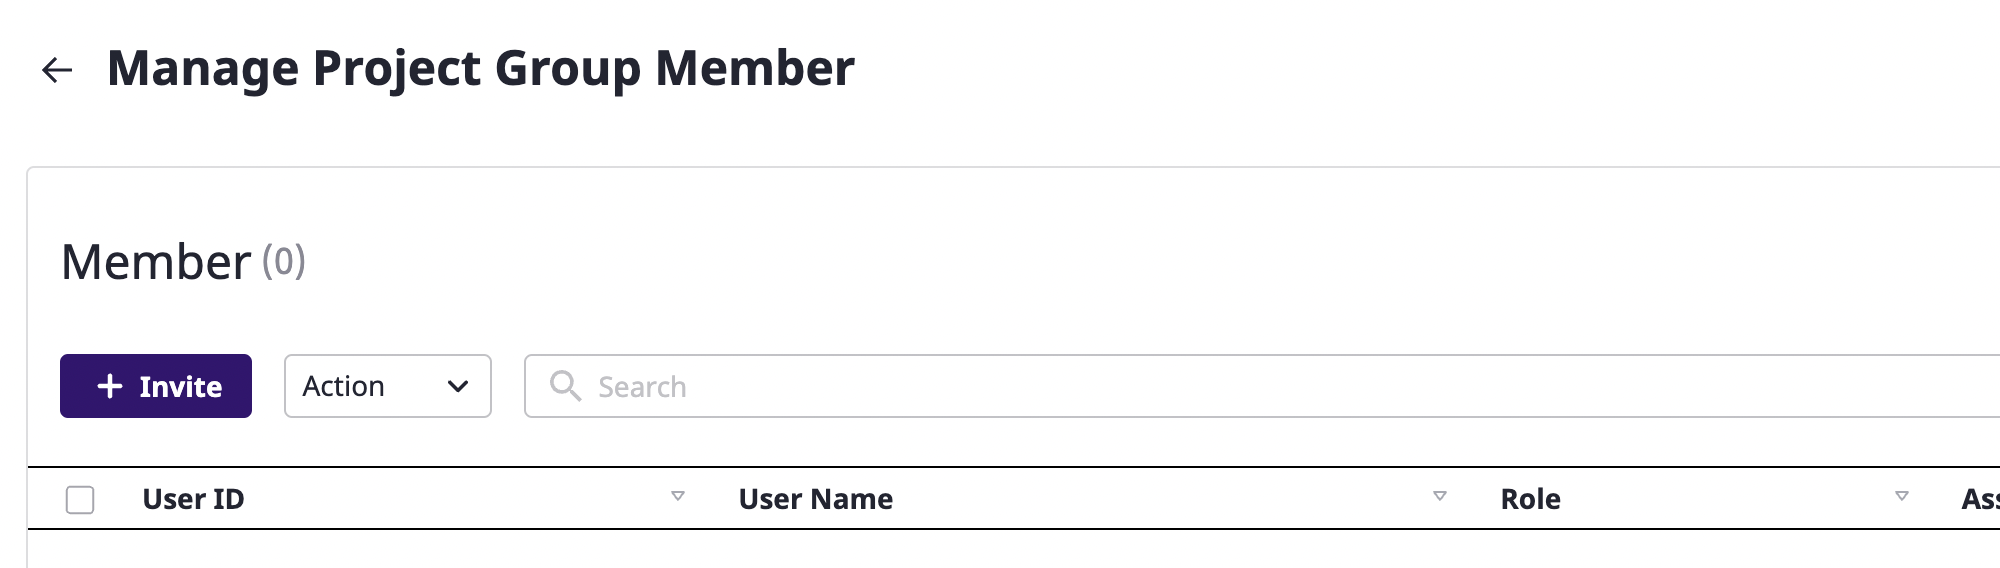
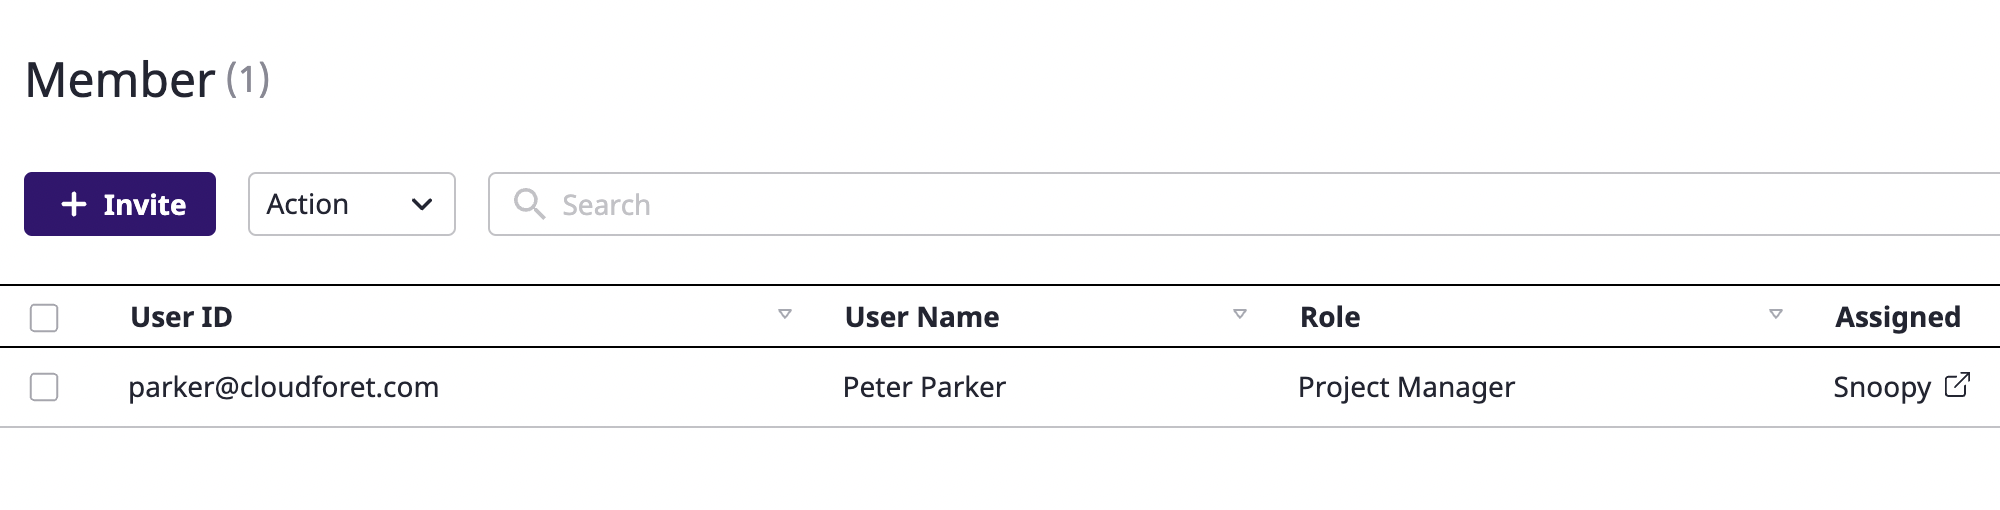
Inviting project group members
You can invite users to a project group to register as a Member of the project group.
Roles of project group members
Invited members must have one role for the project group. This role is equally applied to all project groups and projects that fall under that project group.
For more information, see here.
(1) Select the previously created project group from the [Project group] list on the left.
(2) Click the [Manage project group members] icon button at the top right.
![]()
(3) Click the [Invite] button on the [Manage project group members] page to open the [Invite members] modal dialog.
(3-1) Select the member you want to invite. You can select and invite multiple members at once.
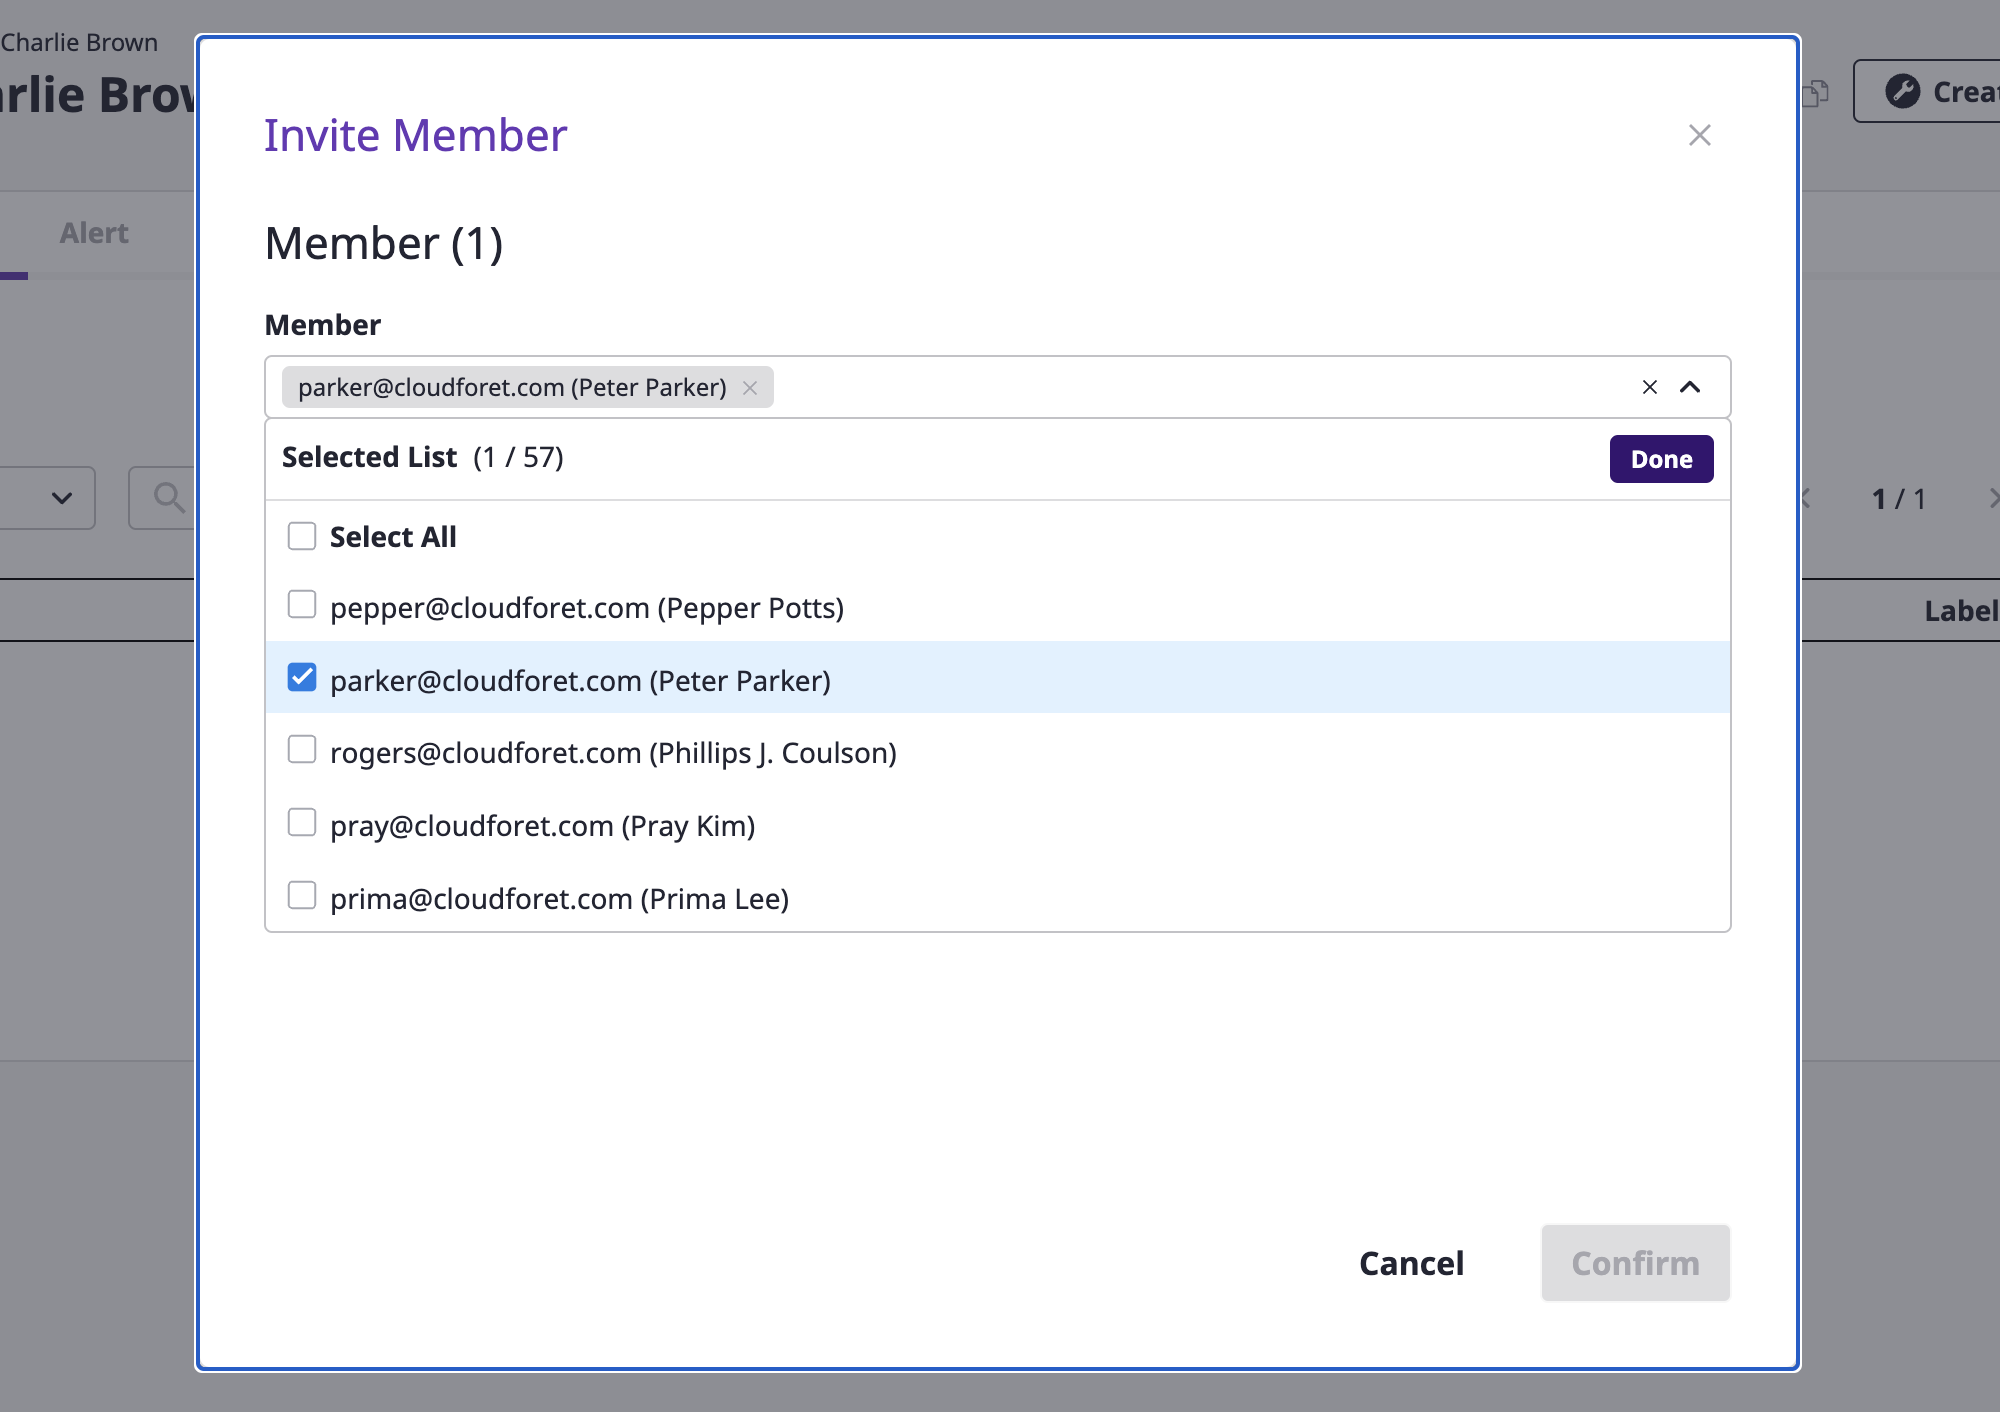
(3-2) Select the role to be granted to the members to be invited.
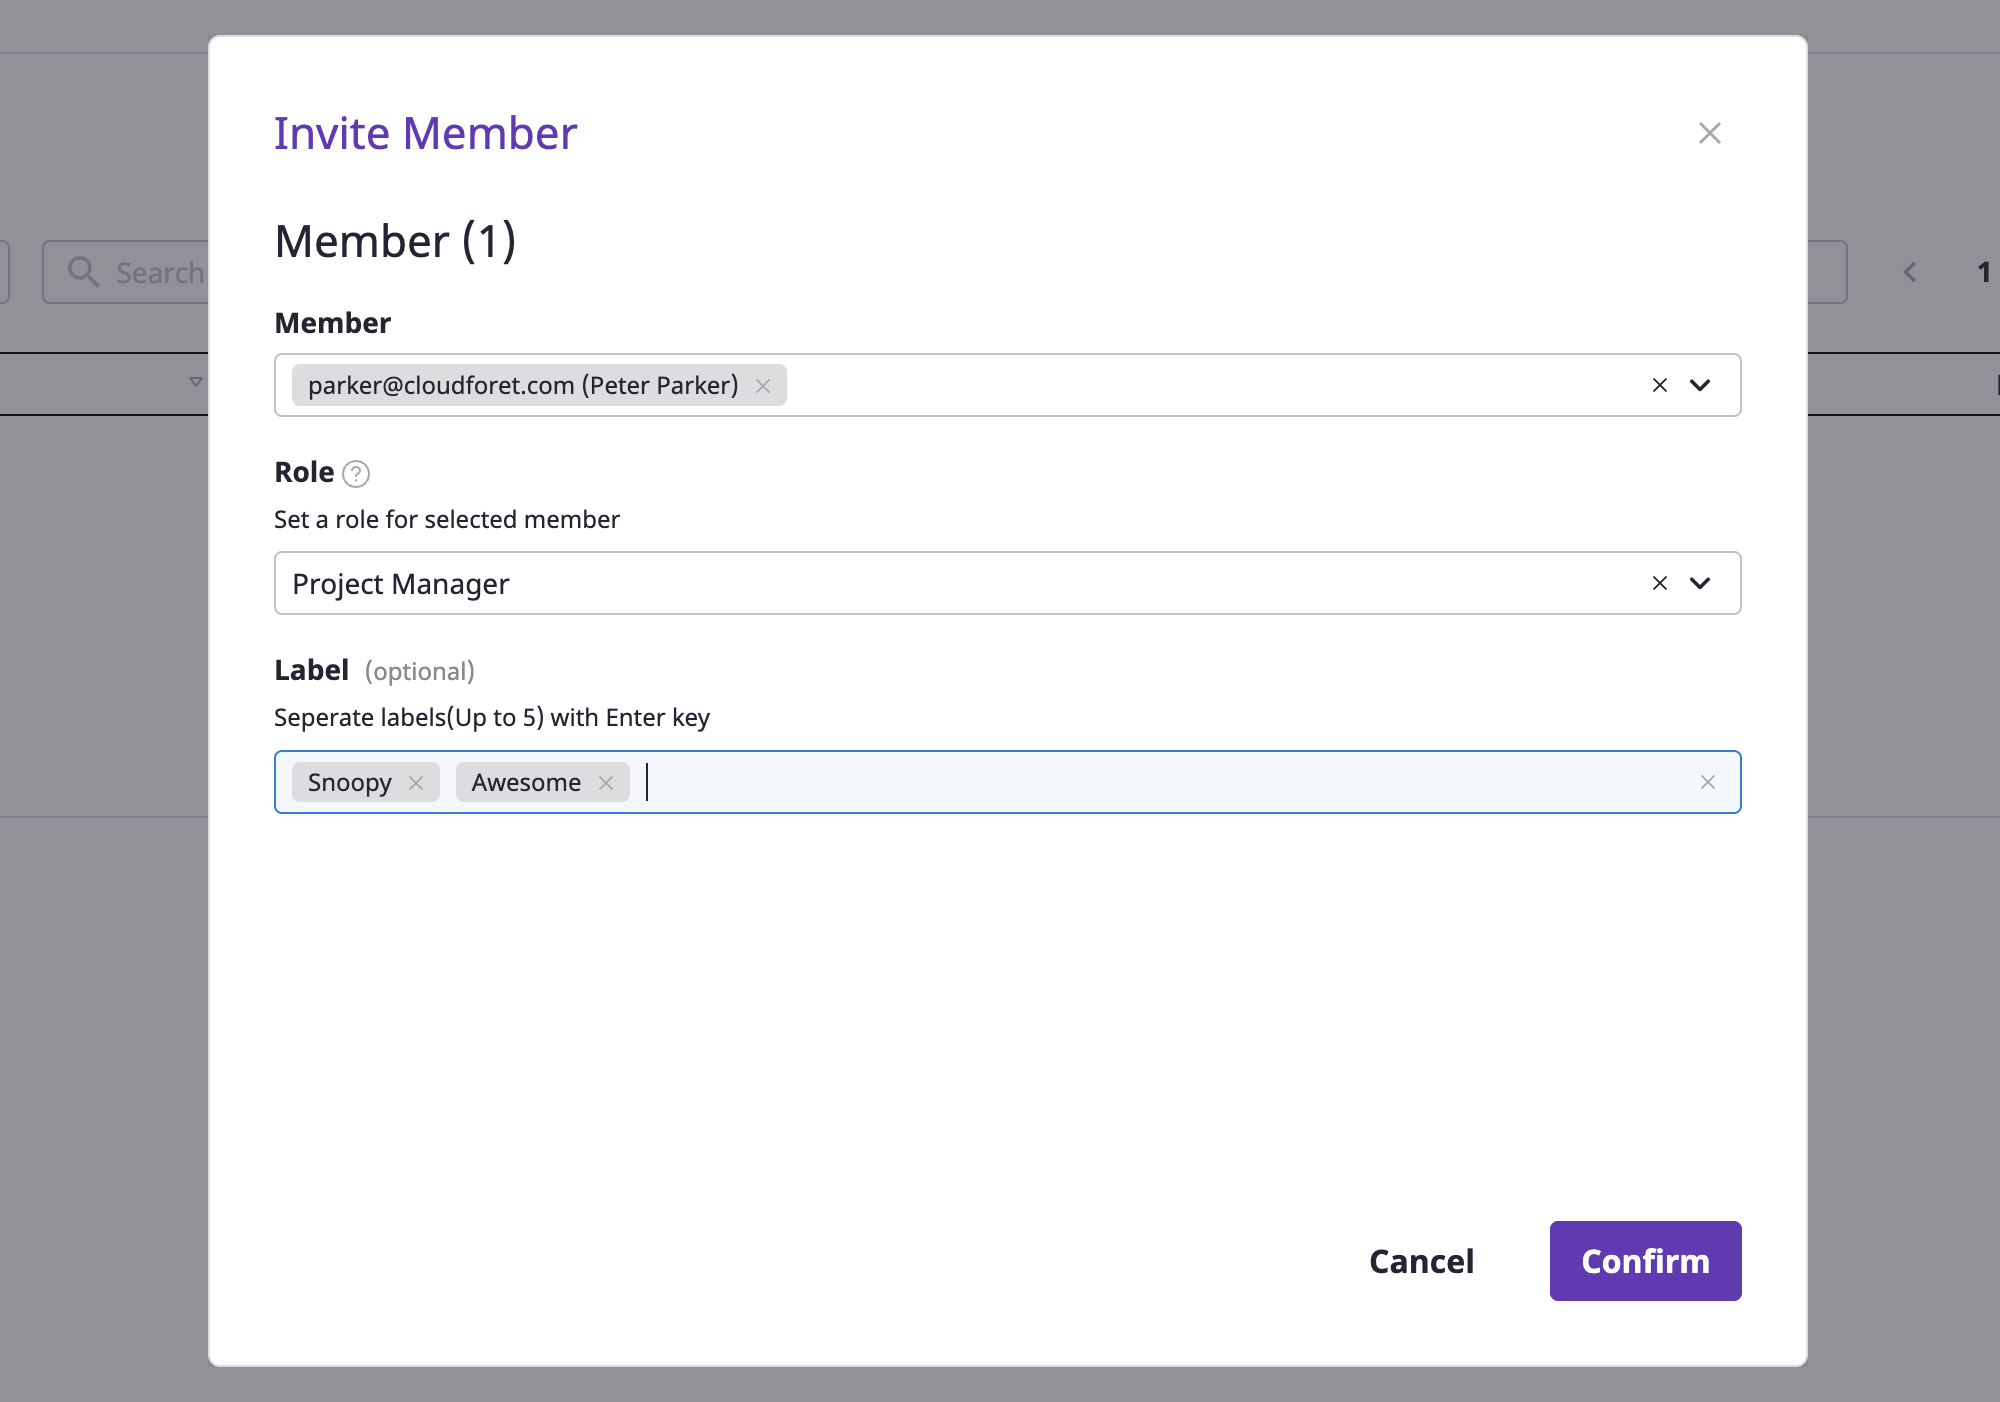
Member’s role
A project member can only be granted auser type role.
For a detailed description of role types, see here.(3-3) After entering the labels for the members to invite, press the Enter key to add them.
(3-4) Click the [OK] button to complete member invitation.
Service account settings
Service Account means the Cloud service account required to collect resources for the cloud service.
Adding cloud service account
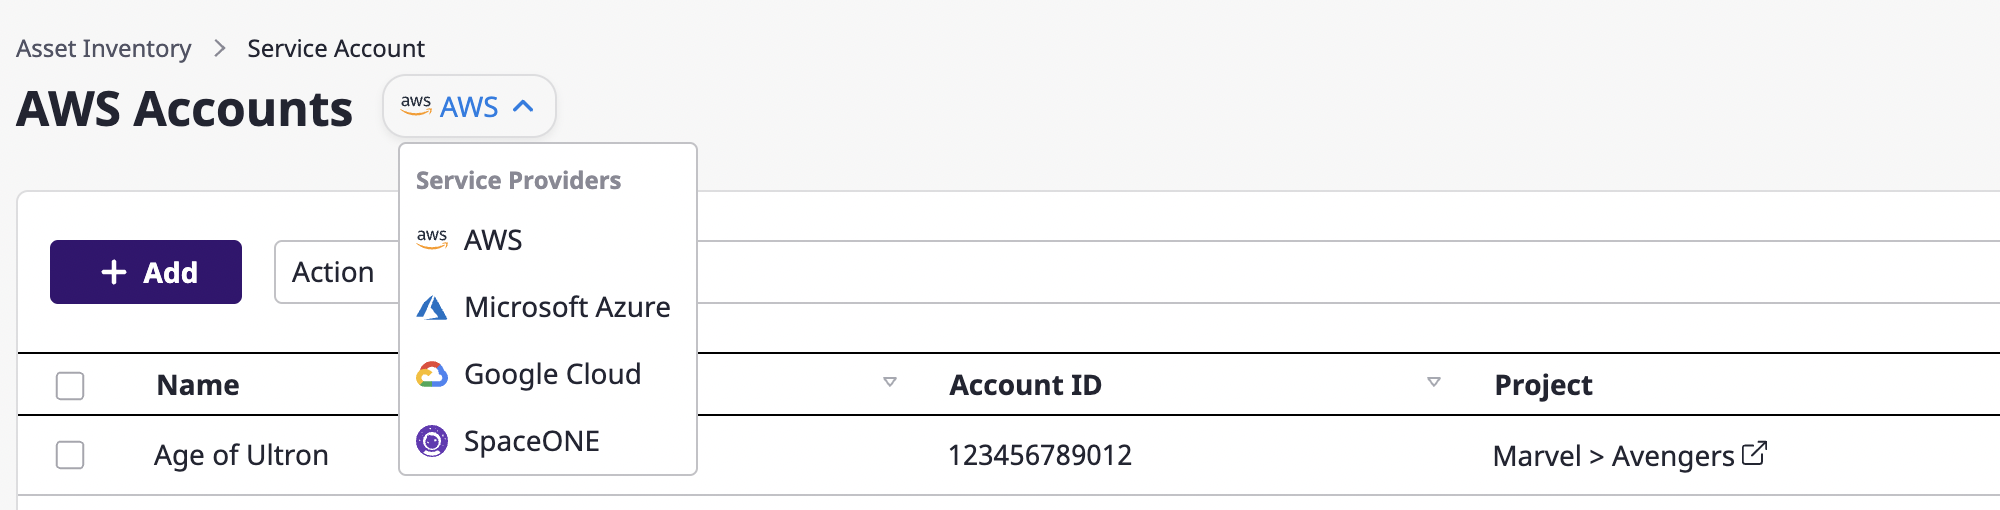
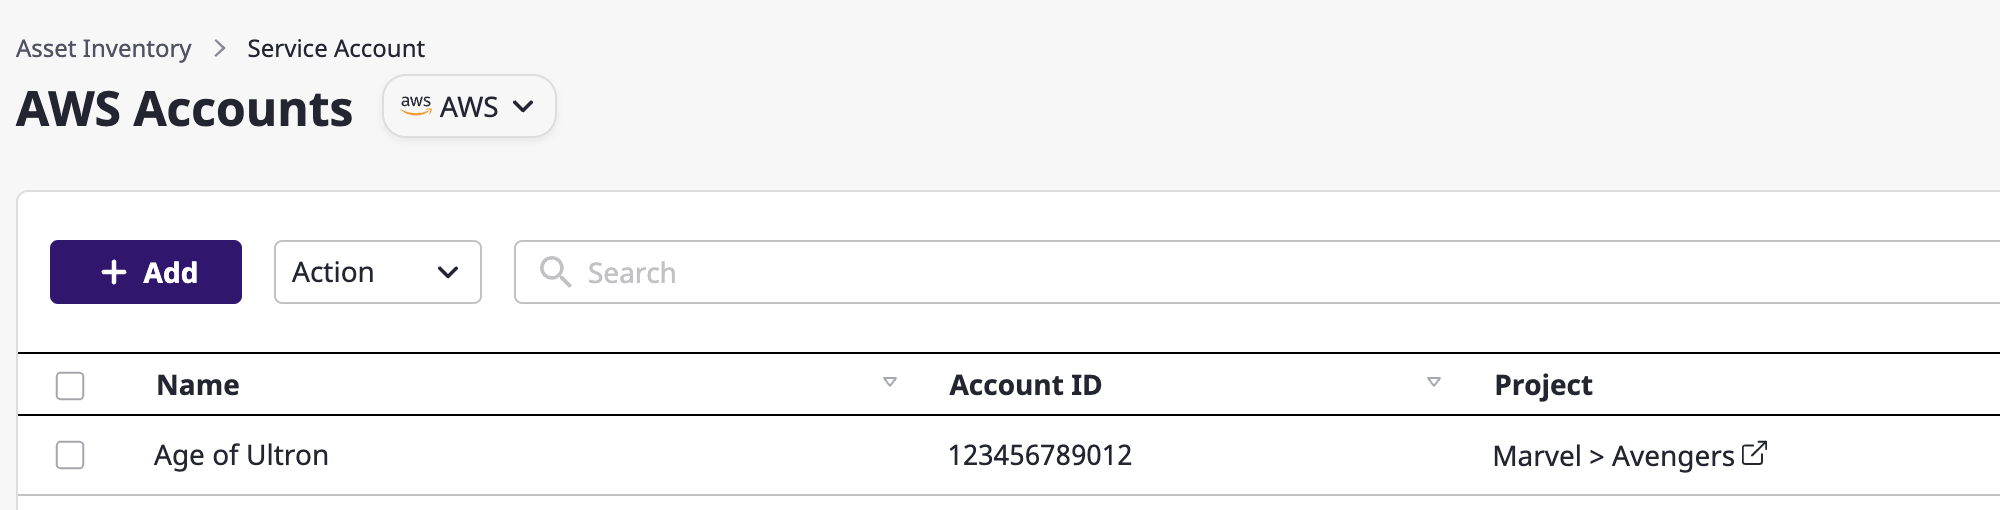
(1) On the [Asset Inventory > Service account] page, select the cloud service you want to add.
(2) Click the [Add] button.
(3) Fill out the service account creation form.
(3-1) Enter basic information.

(3-2) Specify the project to collect resources from according to the service account.

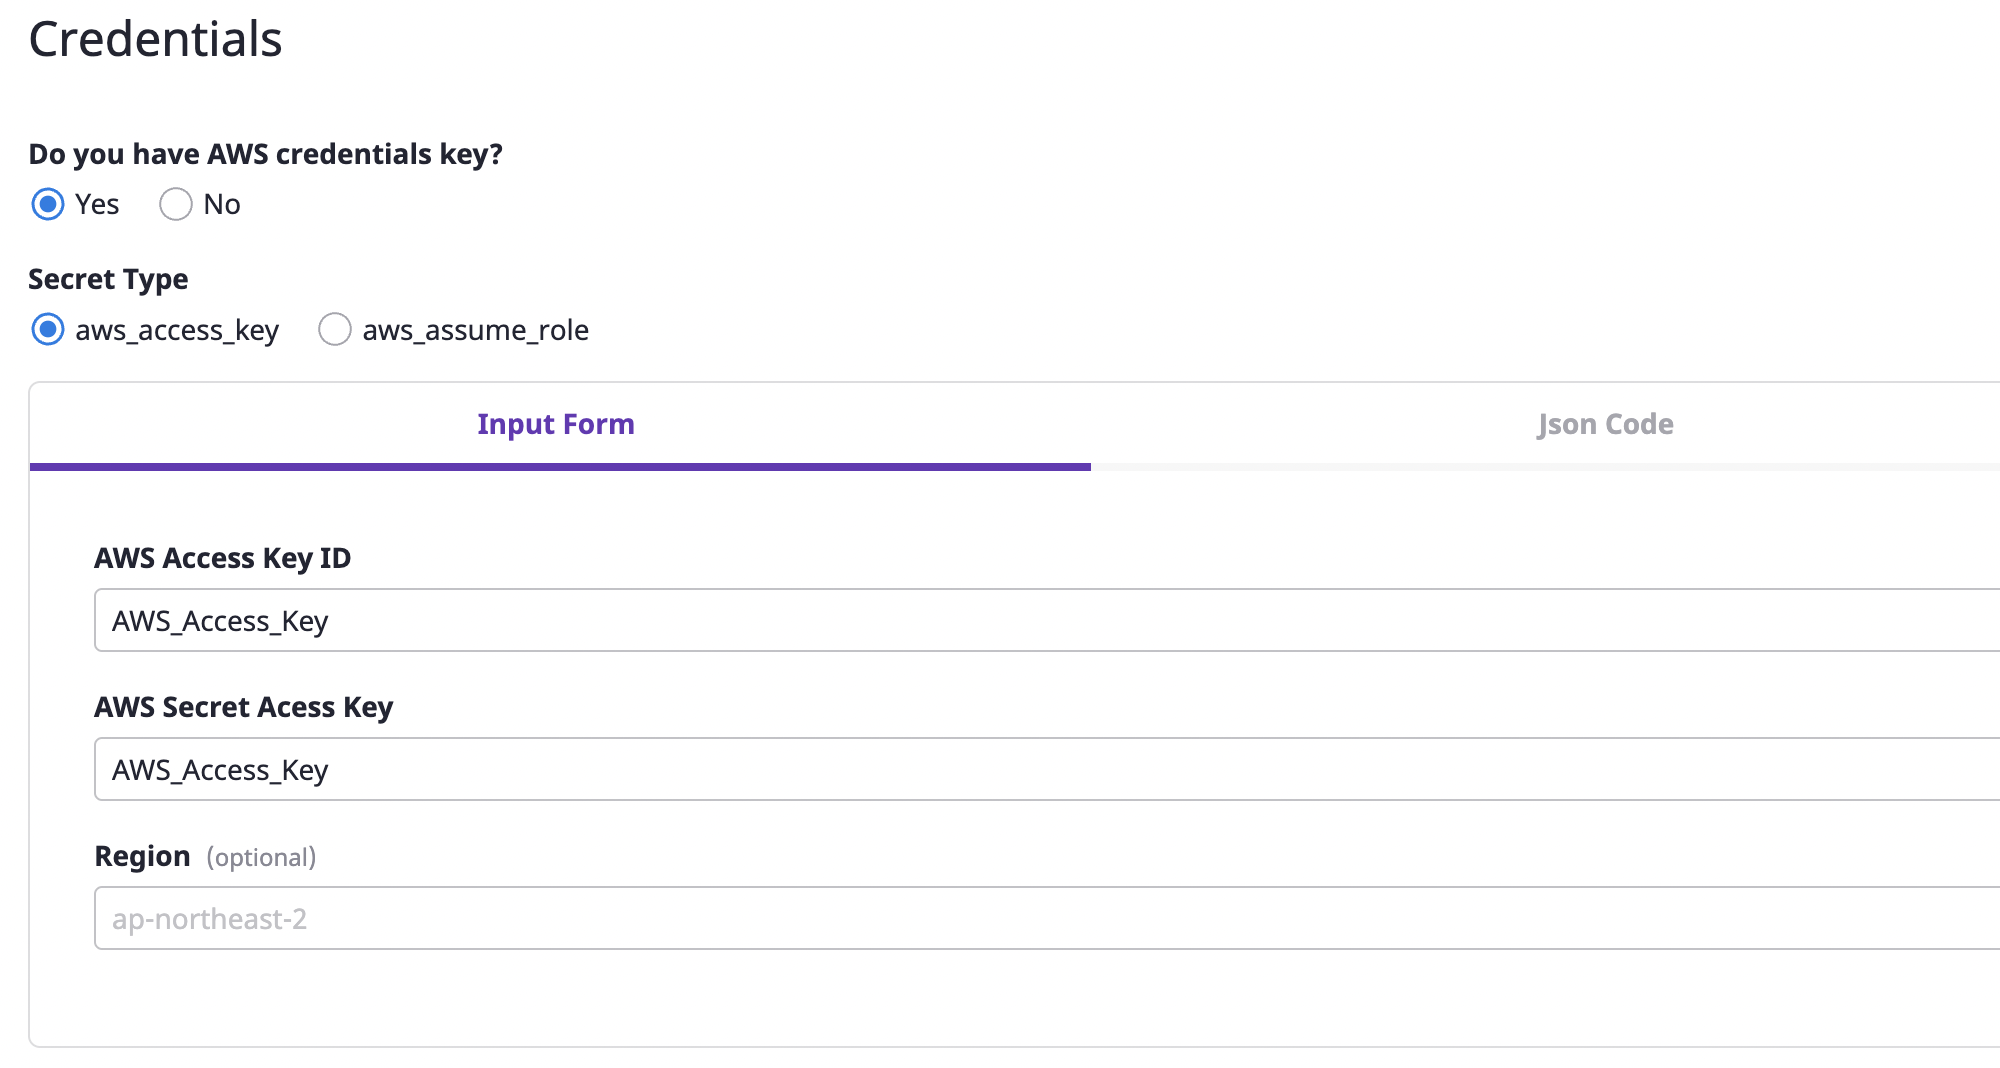
(3-3) Enter encryption key information.
(4) Click the [Save] button to complete.
Add account by cloud service
Account information required for each cloud service may differ. You can see detailed information from the link below:
• AWS (link)
• Azure (link)
• GCP (link)
• OCI (link)
• Alibaba Cloud (link)
After completing the above steps, if you want to use Cloudforet’s services more conveniently and in a variety of ways, please see the following guide: