Overview
Quick install guide for SpaceONE with minikube.
Preparation
Before installing SpaceONE, you need minikube and helm installed.
Refer to the link below and proceed with the installation.
Start Minikube
- Spaceone requires a minimum of 4GB of memory.
minikube start --driver=docker --memory=4096mb
Install SpaceONE
Namespace
Create namespace a for SpaceONE.
SpaceONE needs two namespaces, spaceone and root-supervisor.
kubectl create ns spaceone
kubectl create ns root-supervisor
Check namespace list.
kubectl get ns
Helm Chart
It is highly recommended to change kubernetes namespace to spaceone.
kubectl config set-context $(kubectl config current-context) --namespace spaceone
Register helm chart for SpaceONE.
helm repo add spaceone https://cloudforet-io.github.io/charts
helm repo list
helm repo update
Install SpaceONE with helm chart
Example versions are subject to change.
Please refer to this link to check the latest version.
git clone https://github.com/cloudforet-io/charts.git
cd charts/examples/v1.11.0
helm install spaceone -f minikube.yaml spaceone/spaceone --version 1.11.0
If you are using Amazon EC2, change localhost to your Amazon EC2's public IP address at minikube.yaml.
- ENDPOINT
- DOMAIN_NAME_REF
  production_json:
      CONSOLE_API:
        ENDPOINT: http://##### EC2 public IP ####:8081
      DOMAIN_NAME: spaceone
      DOMAIN_NAME_REF: spaceone
      BILLING_ENABLED: []
You need to check status of pods.
kubectl get pod
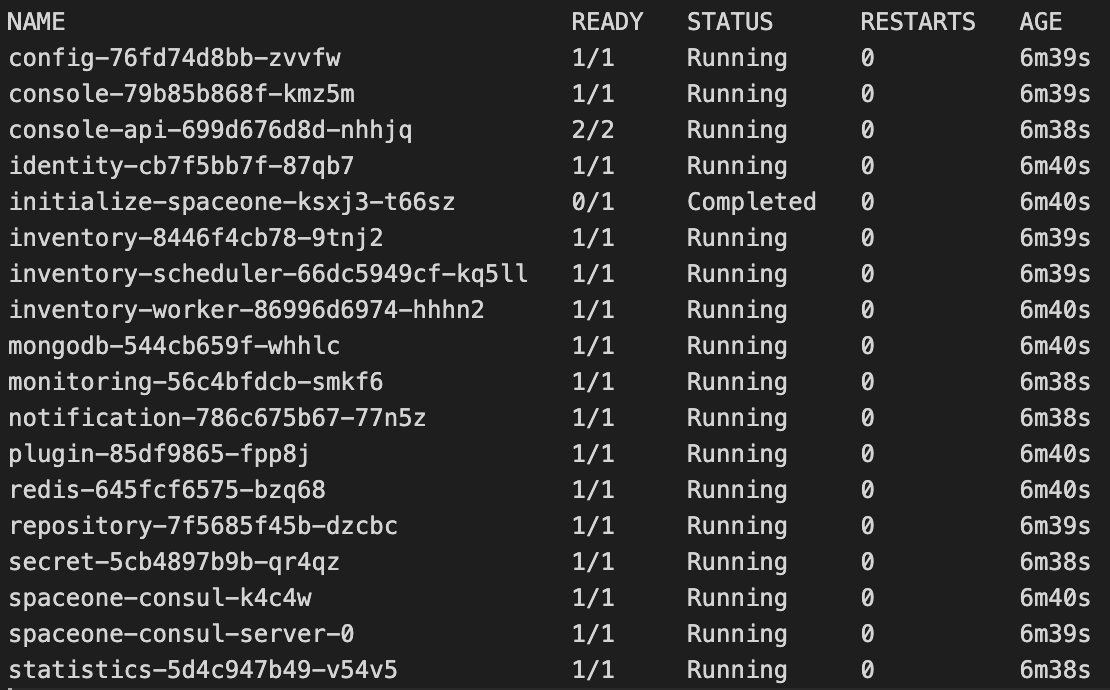
Check if STATUS is Completed or Running. It will take some time, so please wait.
Port-forwarding
Installing SpaceONE on minikube doesn't provide any Ingress objects such as Amazon ALB or NGINX ingress controller. We can use kubectl port-forward instead.
kubectl port-forward -n spaceone svc/console 8080:80 --address='0.0.0.0'
kubectl port-forward -n spaceone svc/console-api 8081:80 --address='0.0.0.0'
Open two terminals then run each command at separate terminal.

Tips
You can run kubectl port-forward in background by adding & at the end.
kubectl port-forward -n spaceone svc/console 8080:80 --address='0.0.0.0' &
kubectl port-forward -n spaceone svc/console-api 8081:80 --address='0.0.0.0' &
Start SpaceONE
Log-In (Sign in for Root Account)
Open browser (localhost:8080)
| ID | PASSWORD |
|---|---|
| admin | Admin123!@# |

Initial Setup
Reference
If you are using Amazon Linux(RedHat Linux), you have to install required dependencies.
yum install socat